Hot Chocolate Bombs Recipe
This post contains affiliate links.
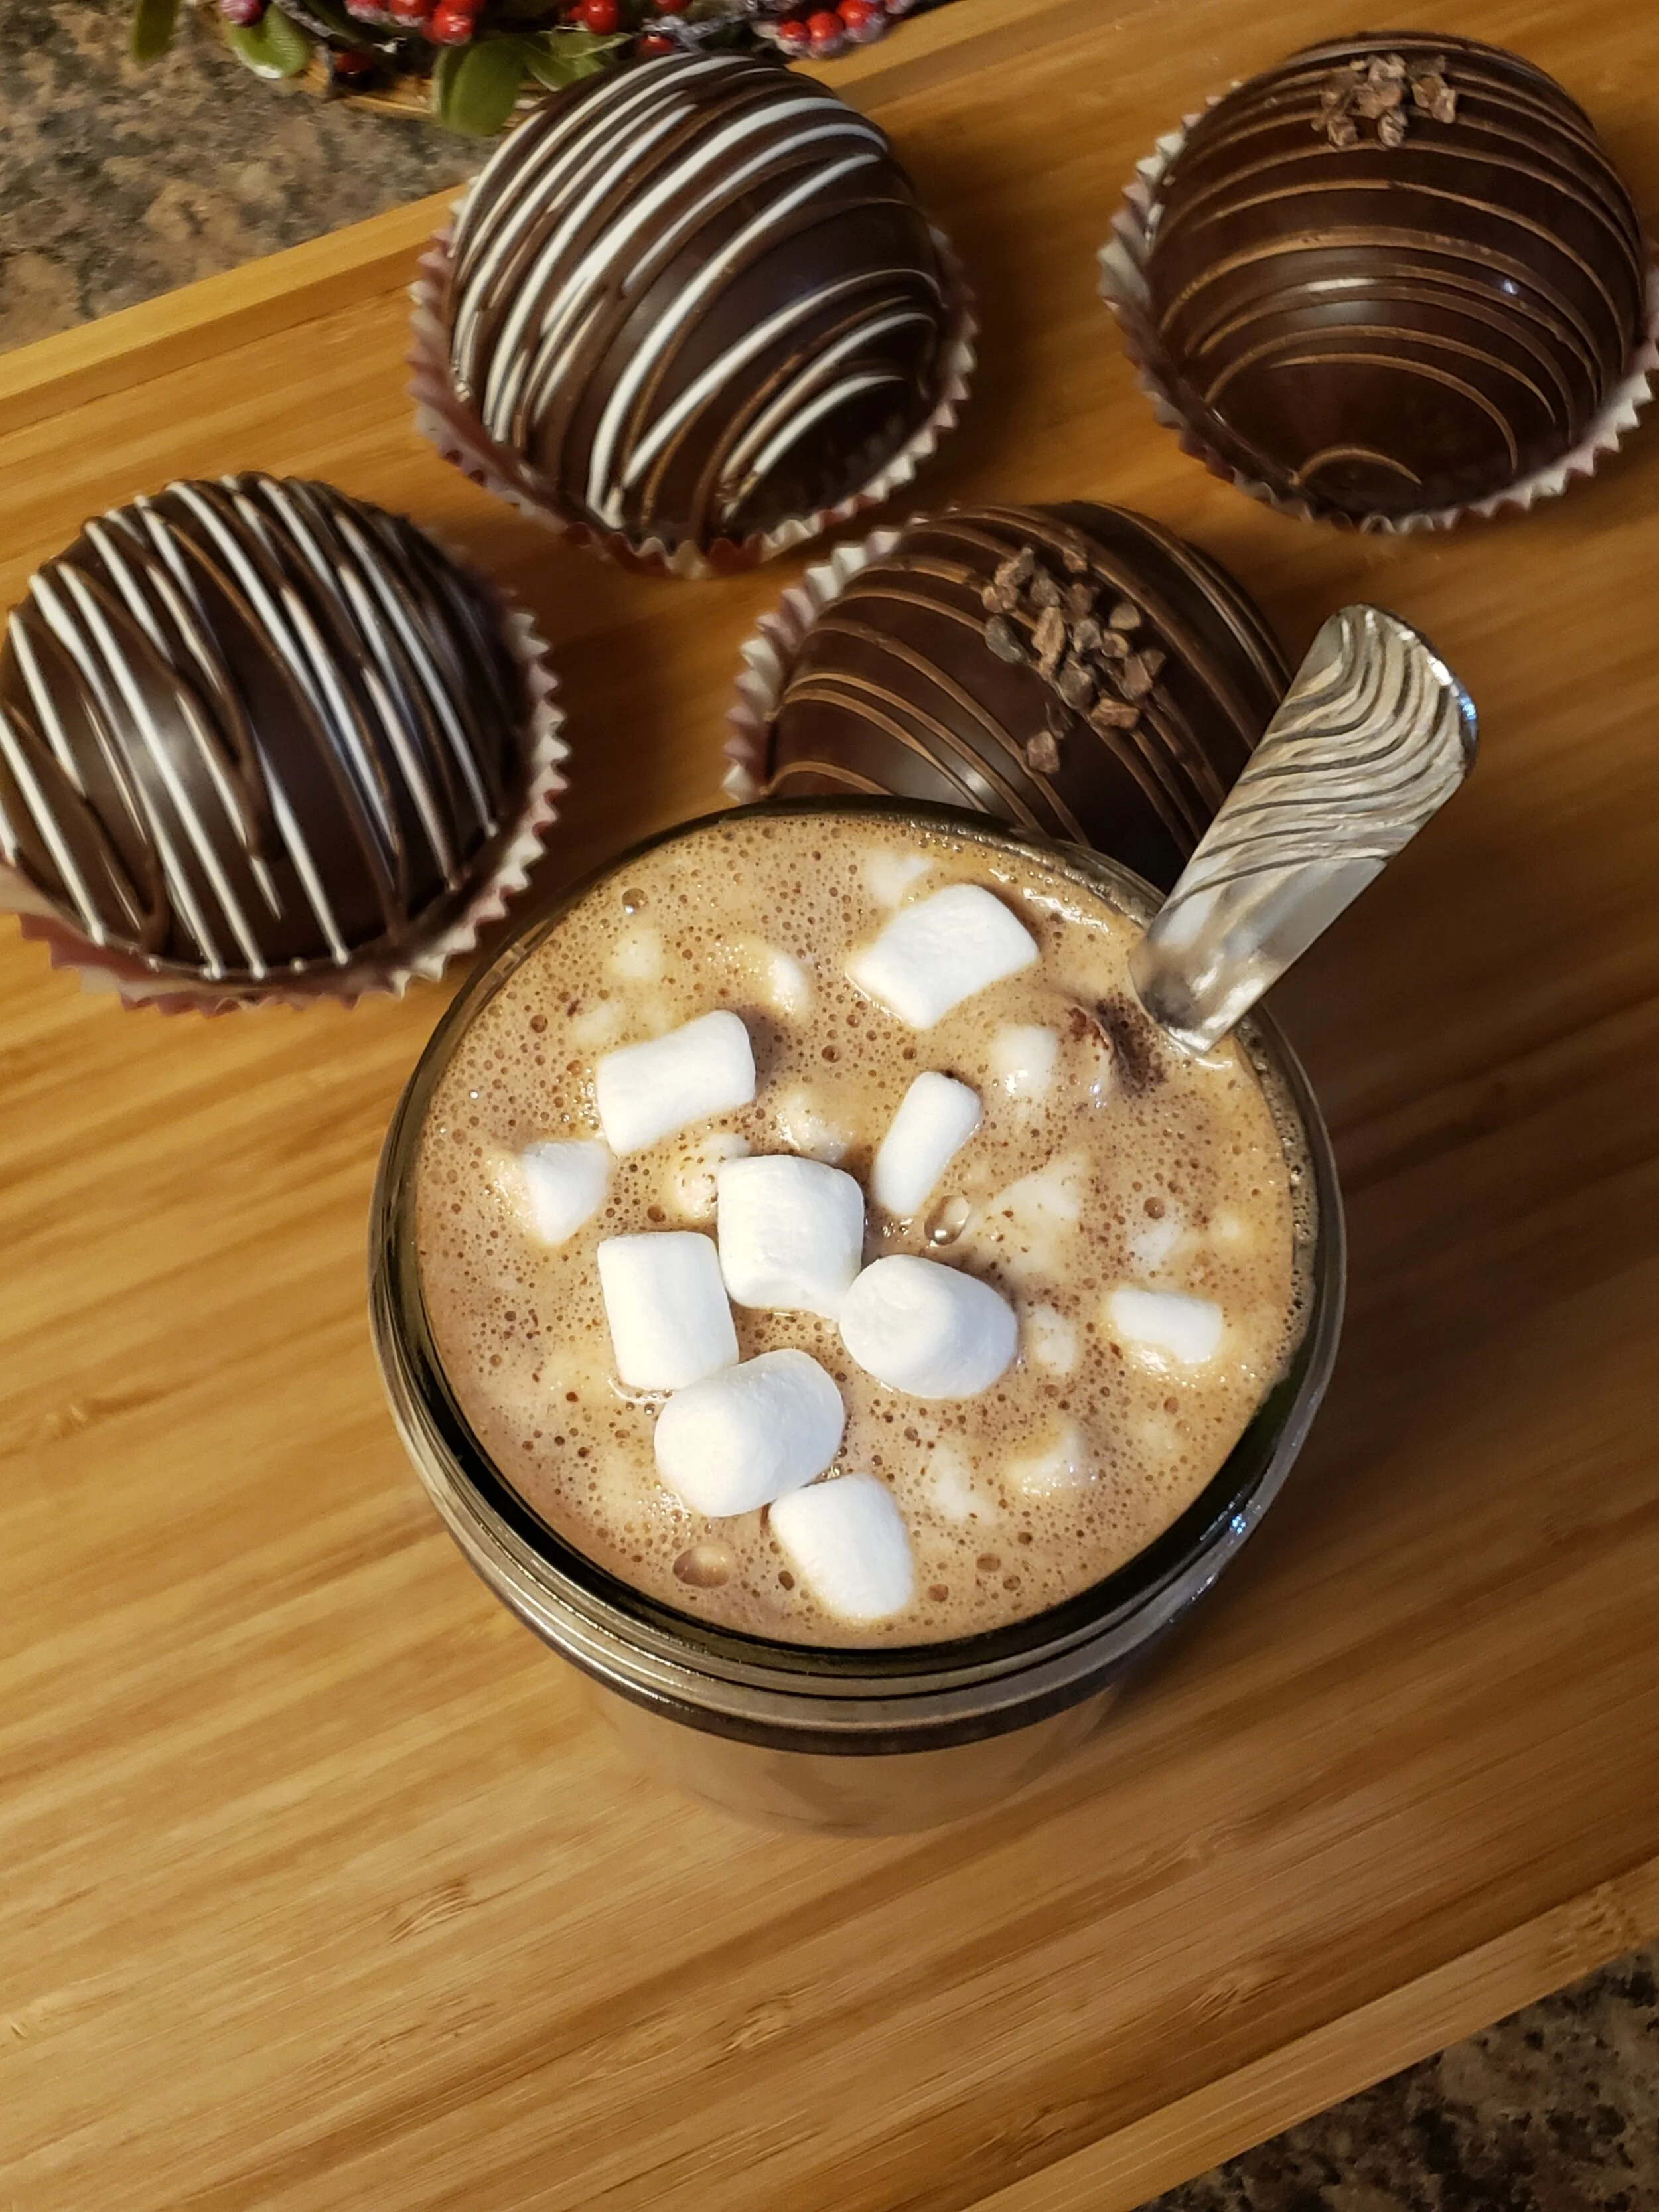
Hot chocolate bombs are probably the trendiest sweets this holiday season! It is a chocolate sphere filled with marshmallows and hot cocoa mix, a modern twist to a classic holiday pair! There is something so satisfying in watching a chocolate ball melt as you pour the warm milk into the cup.

Hot Chocolate Bombs | The Sweet Savory Life
Making chocolate bombs can be intimidating. Yes, you have to first learn how to temper chocolate. You will also need special equipment like an accurate thermometer and silicone spherical mold. The good news is, once you learn how to temper chocolate, the possibilities are endless! You can make a multitude of chocolate-dipped confections such as fruits, graham crackers, nuts and marshmallows. If you’re feeling fancy, you can even make your own chocolate bar, truffle and bonbons. So fear not, there is an easy method to tempering chocolates! It’s also a kitchen skill you will be thankful to have in your pocket!
You will need…
Thermometer - is a must if you want to temper properly and consistently. It’s important to use an accurate thermometer. I wouldn’t recommend a candy thermometer that doesn’t take lower temperatures around 70°F. I love the convenience of using the spatula with a thermometer, otherwise, either an infrared or food thermometer are excellent options.
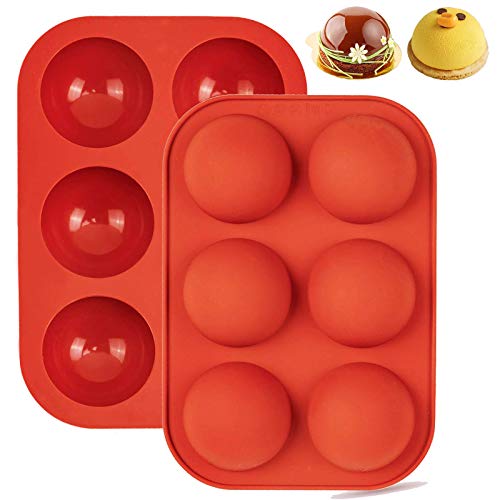
Silicone Semi-Sphere Mold - aside from the cocoa bombs, there’s plenty of use for the semi-spherical mold such as dome mousse, chocolate cups and entremets. You can even make a chocolate ball filled with surprises for kids.
Parchment Paper - is always a good idea to have when working with chocolate. You can use it to place utensils in if coated in chocolate, you can also drip excess chocolate on the parchment paper. Once cooled, it’s easy to peel the chocolate off to store and re-use in the future.
Brush (optional) - brush can be used to spread out the chocolate in the molds evenly. I discussed a method where a brush isn’t needed below.
Small offset spatula or bench scraper - you will need either a small offset spatula or bench scraper to scrape out excess chocolate on top of the mold.
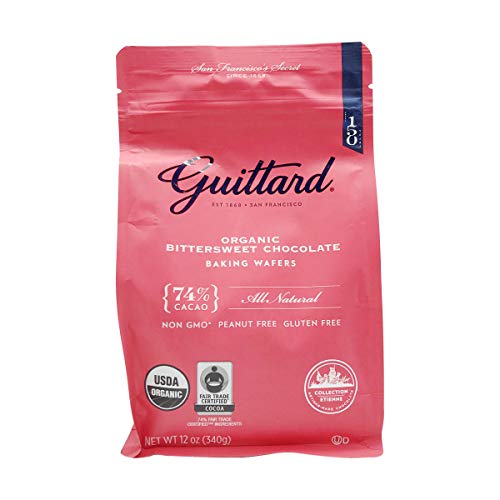
Real Chocolate - when I say real chocolate, I mean the ones with cocoa butter. Either use a couverture or a good-quality chocolate bar. To get shiny and snappy chocolate, cocoa butter is necessary. Plus, it tastes better and melts faster in your warm milk. For this recipe, I used Guittard’s bittersweet 72% wafers from the Winco bulk section.
Hot Cocoa Powder (optional) - most recipes include a tablespoon or more of cocoa powder inside the cocoa bomb. For these recipes, I opted not to add hot cocoa mix because the cocoa bomb was enough to flavor the drink. The addition of cocoa mix was too sweet for me.
Marshmallows - mini-marshmallows works best because they melt faster in warm milk.
Plastic or Silicone Bowl - I avoid using glass bowls when tempering small amounts of chocolate primarily because glass bowls retain heat. Excess heat can take your chocolate out of temper and you’ll have to take extra steps to temper them again.
Ingredients to flavor your cocoa bomb - try adding flavors to your cocoa bombs such as mocha, salted caramel mocha and peppermint.
Decoration - decorate your cocoa bombs with drizzles, peppermint barks and sprinkles. I also use thin sandwich bags for drizzling.
Cupcake Liners - use cupcake liners to hold the cocoa bombs.
Microwave - you can either use a microwave or a double boiler to temper chocolate, however, the easier no-brainer method uses a microwave.

Here are some helpful tips…
Using a thermometer is necessary to temper chocolate consistently.
Chocolate seizes with water so make sure all of your pieces of equipment are wiped dry.
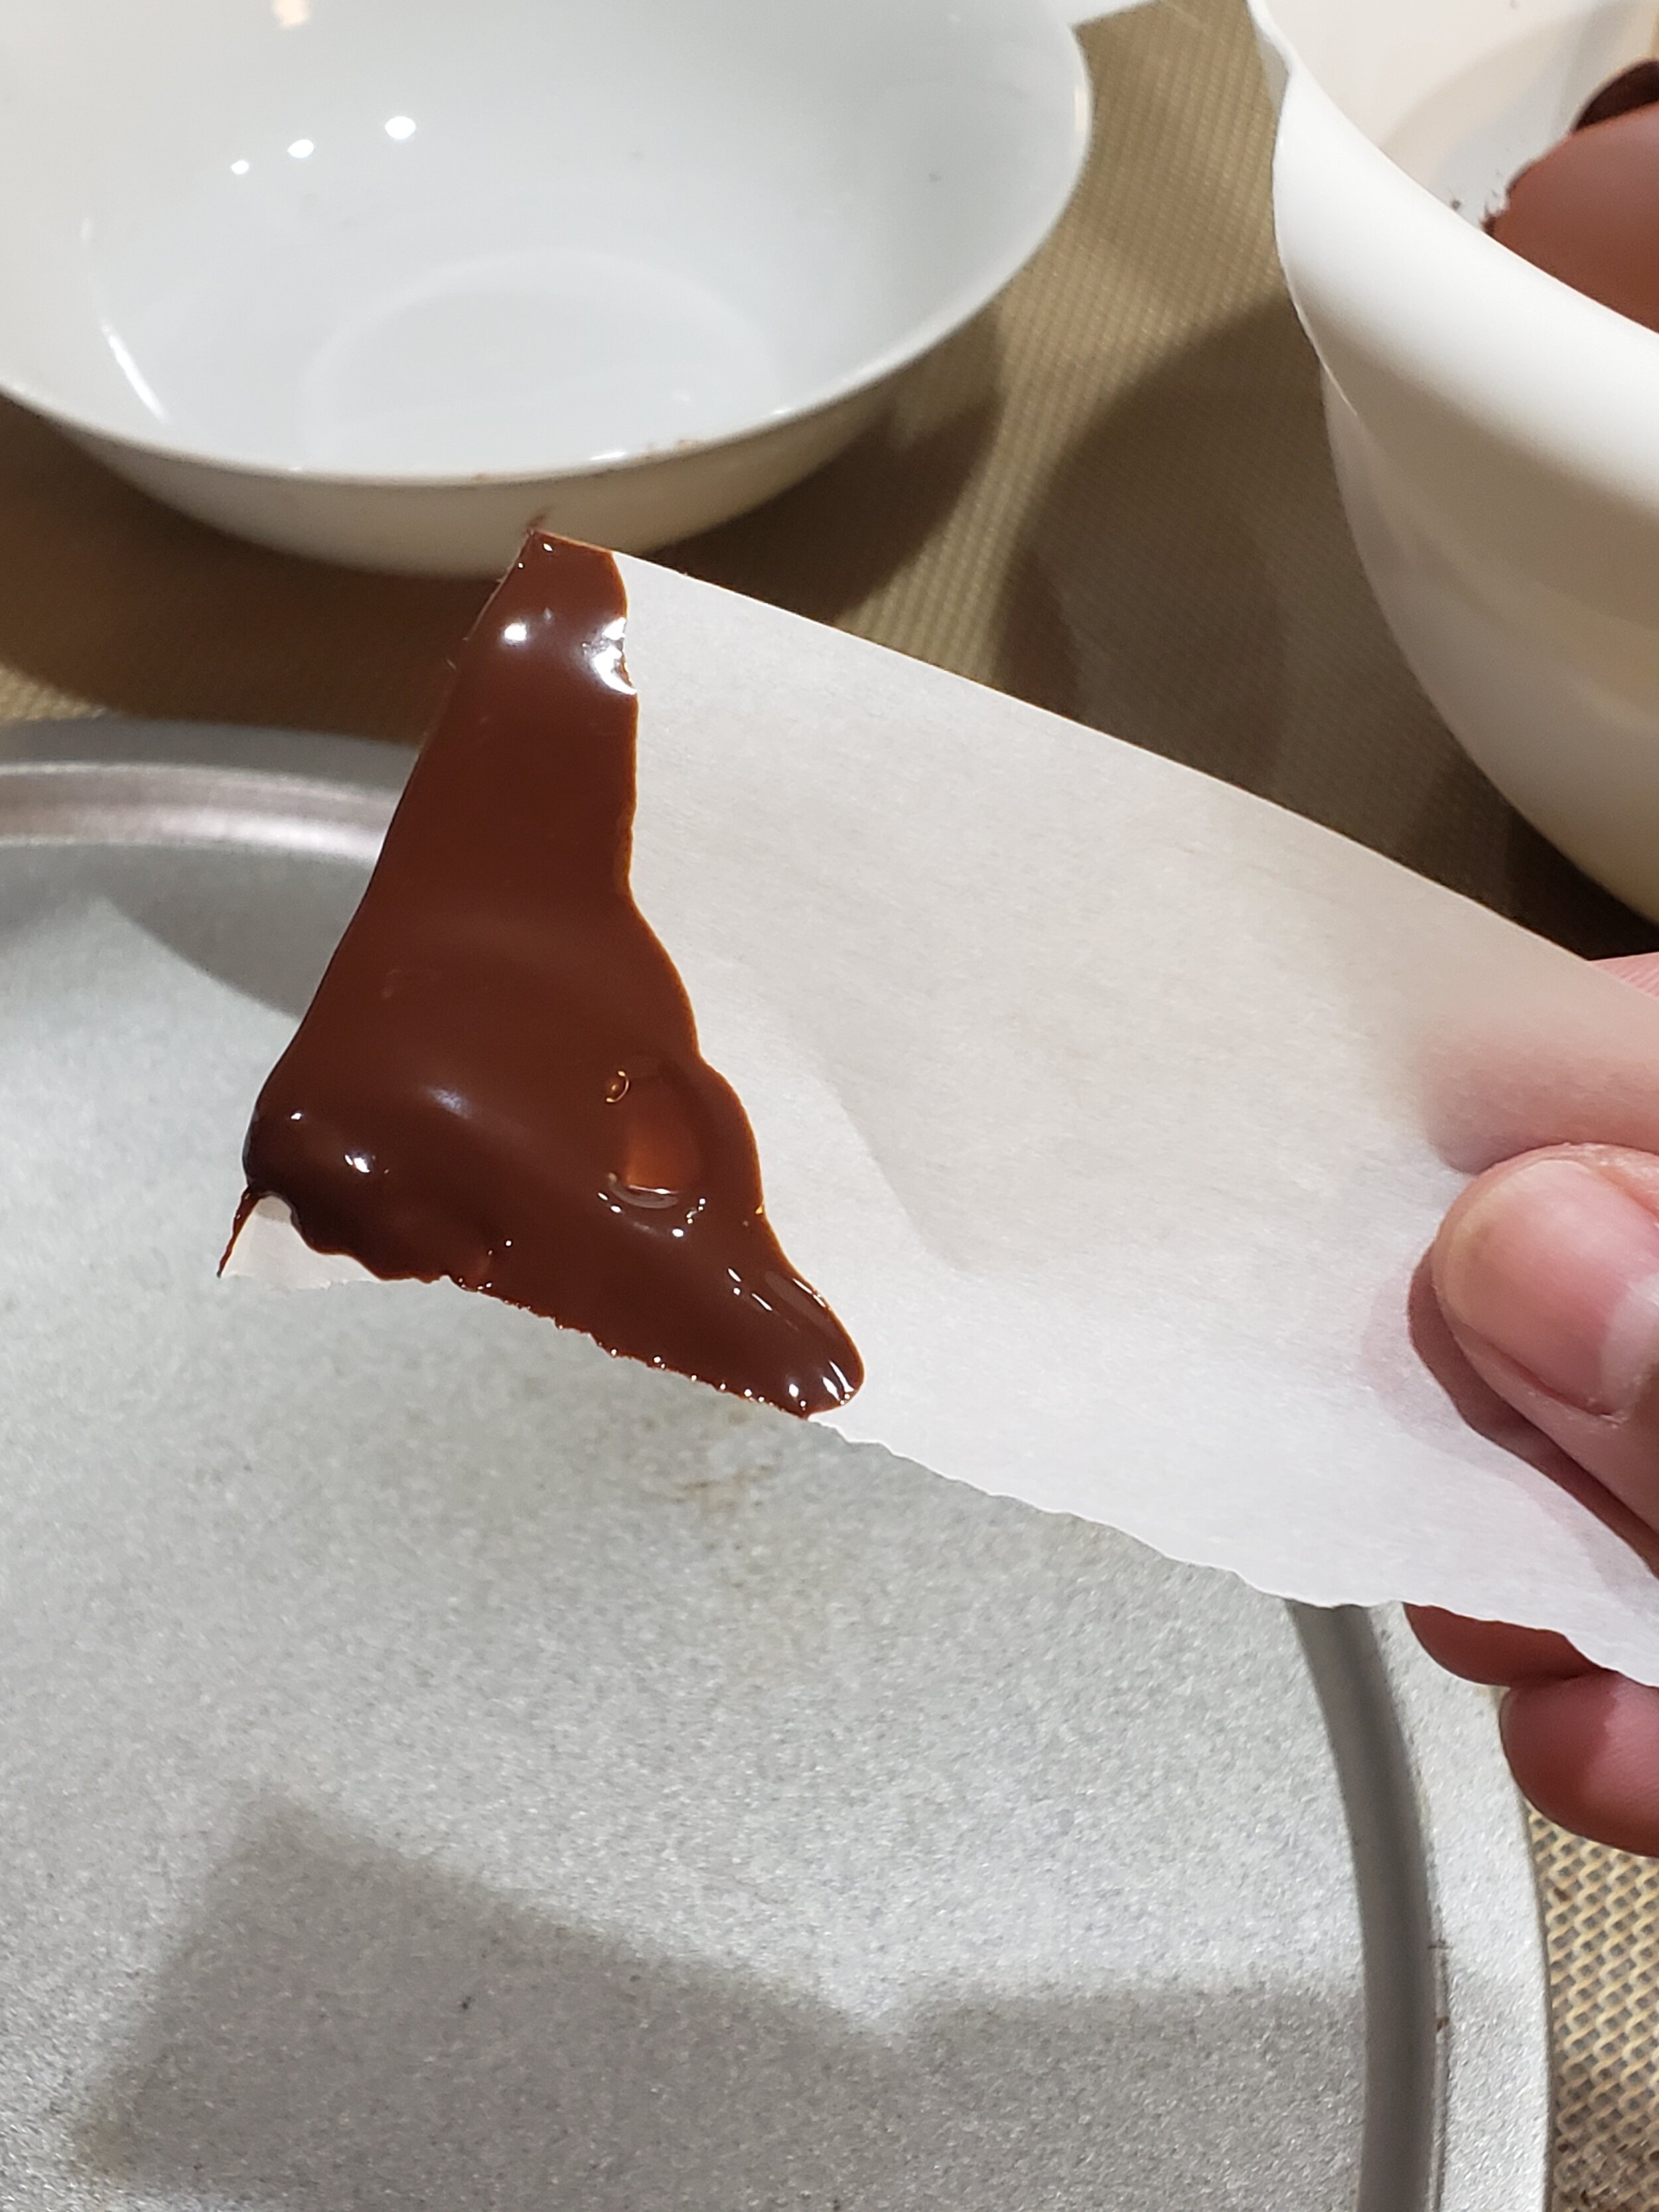
Test if the chocolate has been properly tempered first before pouring it into the mold. I place a thin layer of chocolate on a small strip of parchment paper and place it in the freezer for 3 minutes. It should come off the parchment paper easily and snaps when you break it in half.
Make sure that the edges are properly coated if you want the ball to seal properly in the middle. The coating will crack on the sides if they are thin. You can use the brush to make sure the sides are coated evenly. Otherwise, use the back of the spoon.
I usually make as many of the half spheres shells as I need before adding the contents. I line them up in a sheet pan and only start adding the fillings once I'm done making the half-sphere shells.
These make an excellent holiday present! I found cute boxes at Daiso that are perfect for these.

Hot Cocoa Bomb Recipe | The Sweet Savory Life
Step 1 Temper the chocolate…
Tempering chocolate simply means heating and cooling the chocolate to a workable consistency which hardens with a snap and shiny gloss once cooled. Chocolate when melted without tempering remains soft. So to be able to create confections with a hard chocolate coating, tempering is necessary.
Seeding Method
There are a few methods for tempering chocolate. As a professional baker, I used to always temper using the seeding method where 2/3 of the chocolate is melted to 115°F in a double boiler. Then, I add the remaining 1/3 of the chocolate and stir until about 87°F. Emulsification is important to reintroduce the cocoa butter to the melted chocolate evenly. I constantly stir and sometimes use an immersion blender to make sure that the cocoa butter is mixed evenly.
Microwave Method
The easiest method I’ve seen in my research recently is “Sugar Geek’s Microwave Method” where the chocolate is melted in the microwave in increments making sure it does not go above 90°F. At this temperature, the chocolate does not come off its tempered state so there is no need to add unmelted chocolate like the seeding method. In essence, as long as the chocolate’s temperature remains below 90°F, it should harden with a snap and shine once cooled.
Finely chop 24 oz of bittersweet chocolate with a knife, painstakingly shaving the chocolate wafers thinly. Though tedious, this process helps the chocolate to melt faster without overheating unnecessarily.
Using a plastic or silicone bowl, microwave the chocolate for 30 seconds and stir.
Microwave for another 15 seconds and stir.
Make sure you are paying attention to your temperature. If the temperature is at around 88°F, don’t add any more heat. Just keep stirring until all the lumps are melted.
If there are still lumps, microwave for 10 seconds at a time until melted or until the temperature reaches close to 90°F.
Once the chocolate is melted, test a small amount by placing a thin layer of chocolate on parchment paper. Place the parchment paper in the freezer for 3 minutes. It is properly tempered if it comes off the parchment paper easily and snaps when broken in half.
If the melted chocolate starts to harden making it harder to work with, place the bowl in the microwave in 15 seconds increment taking caution not to go above 90°F.
If the chocolate temperature went above 90°F
If the chocolate went above 90°F, it is out of temper and you have to temper it using other methods like the seeding method. Simply follow the seeding method instructions above. As a good rule of thumb, always test if tempered right before using it to coat.

How to Temper Chocolate| The Sweet Savory Life
How to Temper Chocolate| The Sweet Savory Life
Step 2 Making the chocolate shells…
Before filling the silicone mold, here are some best practices.
Clean the mold prior to tempering. Make sure that it is completely dry to prevent the chocolate from seizing.
Avoid using soap to clean the molds because silicone often retains the smell. I usually just use hot water to clean it.
Chocolates are sensitive to temperature so make sure that your molds are at room temperature prior to use.
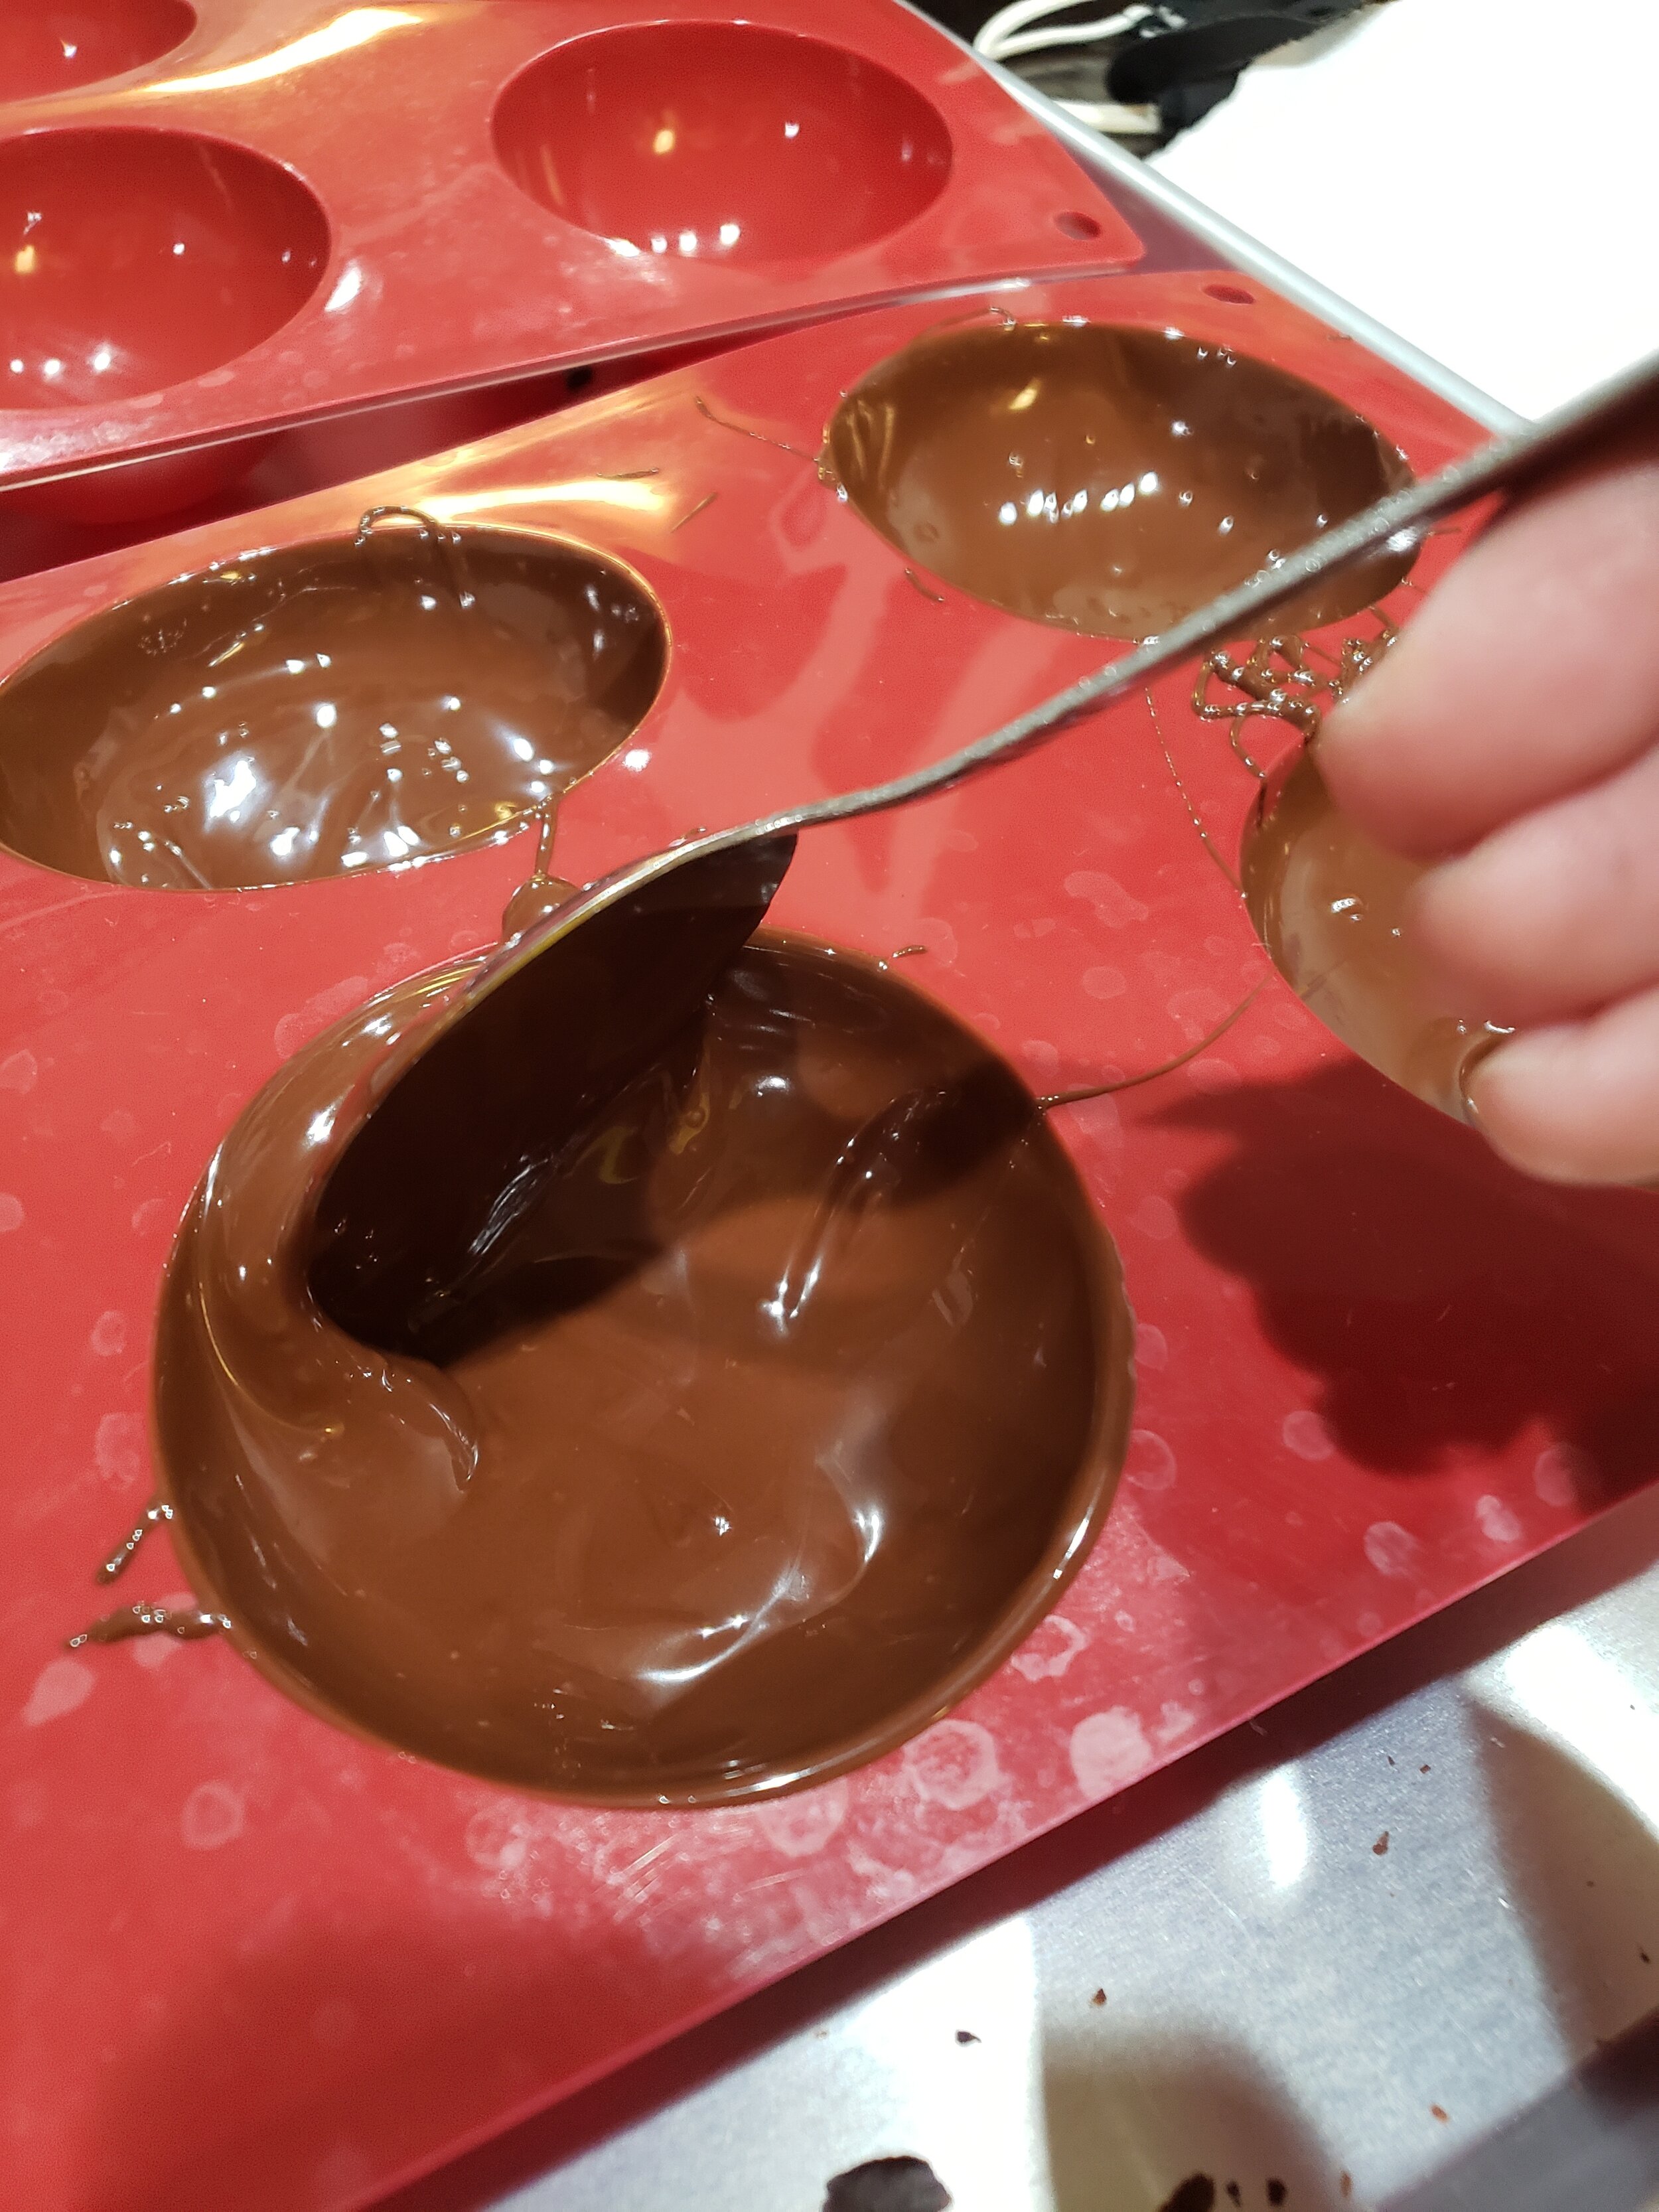
It is important to coat the side edges of the mold evenly otherwise it will crack when unmolding. The edges will connect to another semi-sphere to create a ball. Avoiding cracks on the edges helps seal the chocolate ball properly. A few of my semi-sphere shells had cracks on them, especially when using the spoon to coat the edges.
There are 2 ways to fill the mold:
Fill the mold with chocolate about 1/3 full. Using a brush, coat all sides evenly with chocolate making sure that the opening edge is coated evenly. Use an offset spatula or a scraper to clean out the edges of the mold. If a brush is not available, you can also use the back of the spoon to coat the sides of the mold. I highly recommend double coating the edges to have an even layer since this area tends to have thinner coating.
Fill the mold with chocolate to the brim. This makes sure that all the sides are coated with chocolate evenly. Then, invert the mold in a cooling rack to allow excess chocolate to drip. Using a scraper, scrape out all excess chocolate ensuring the side edges are coated with chocolate evenly. This method requires more chocolate than the first method since you are filling the sphere mold to the brim. I find that this method gives the evenest coat with fewer cracks on the edges after unmolding.
After the molds are coated, place them in the fridge for 5 minutes to harden. Avoid keeping the molds in the fridge longer than 10 minutes as it tends to condensate once removed. Condensation can cause discoloration on your chocolate, it happened to me when I was creating this recipe. It helps to use gloves to unmold to avoid fingerprints on the shell. Also, because my hands are warm, I touch cool glass jars in the fridge to help cool off my fingers before unmolding. Set aside the half-sphere shells in a tray and allow the silicone mold to warm down to room temperature before pouring the tempered chocolate again. Repeat the process until the desired amount of molds are made.
Hot Cocoa Bomb Recipe | The Sweet Savory Life
Step 3 Fill the chocolate shells…
First, I go through the shells and pick the best ones that will go on top. The not-so-perfect shells will be used for the bottom side,
Before filling, I clean out the edges of the bottom-side chocolate shells by placing the edge-side down on a lightly-heated pan to even it out. As mentioned earlier, I use gloves and cool off my fingertips before handling the shells. I usually take a jar of jam (or any glass jar) from the fridge and keep it beside my workstation cooling my fingers whenever necessary.
Add desired fillings such as marshmallows, caramel and coffee.
Slightly re-heat the pan and place the saved chocolate shell on top to melt the edges. Immediately place on top of the filled chocolate shell to seal. Make sure to match the edges carefully. Once the melted edge cools, the cocoa bomb balls should be sealed. Do not rush this step. Repeat the process until all shells are assembled.

Hot Cocoa Bomb Recipe | The Sweet Savory Life

Hot Cocoa Bomb Recipe | The Sweet Savory Life

Hot Cocoa Bomb Recipe | The Sweet Savory Life
Step 4 Decorate hot cocoa bombs…
Drizzle - re-heat the left-over tempered chocolate (again below 90°F) and pour it to a piping bag or a sandwich bag. Place the hot cocoa bombs on a parchment paper and drizzle. You can also use white chocolate melts to add contrast. Top with sprinkles, cocoa nibs, peppermint barks and crushed oreos.
Once the drizzle hardens, place each hot cocoa bombs on a cupcake liner.
Place in gift boxes with ribbons!

Hot Cocoa Bomb Recipe | The Sweet Savory Life

Hot Cocoa Bomb Recipe | The Sweet Savory Life
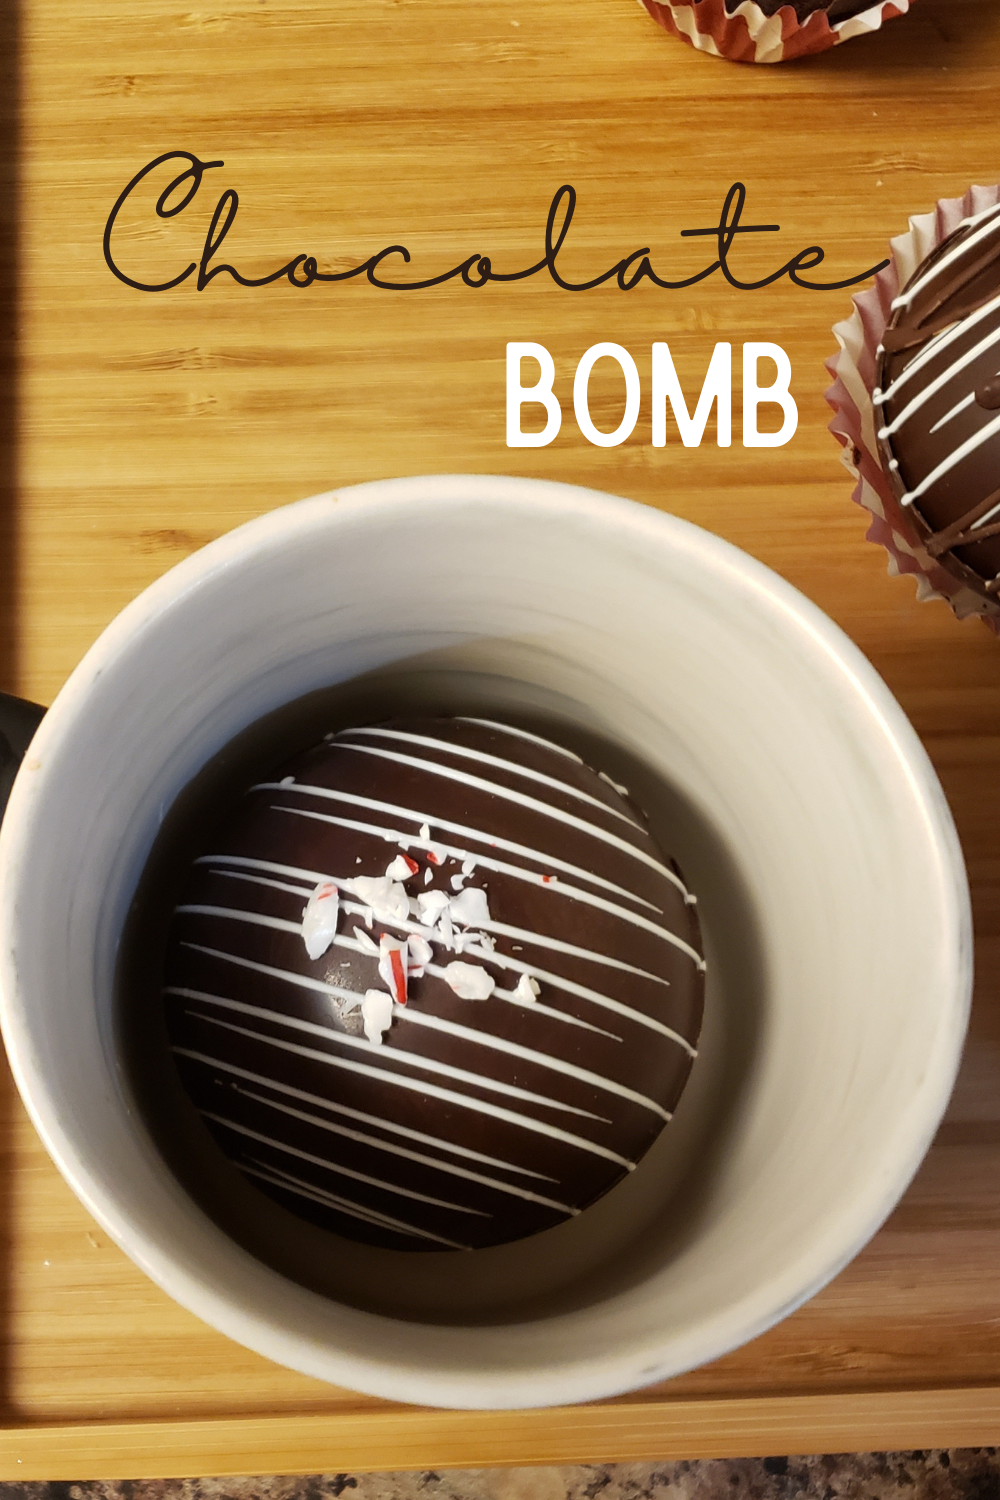
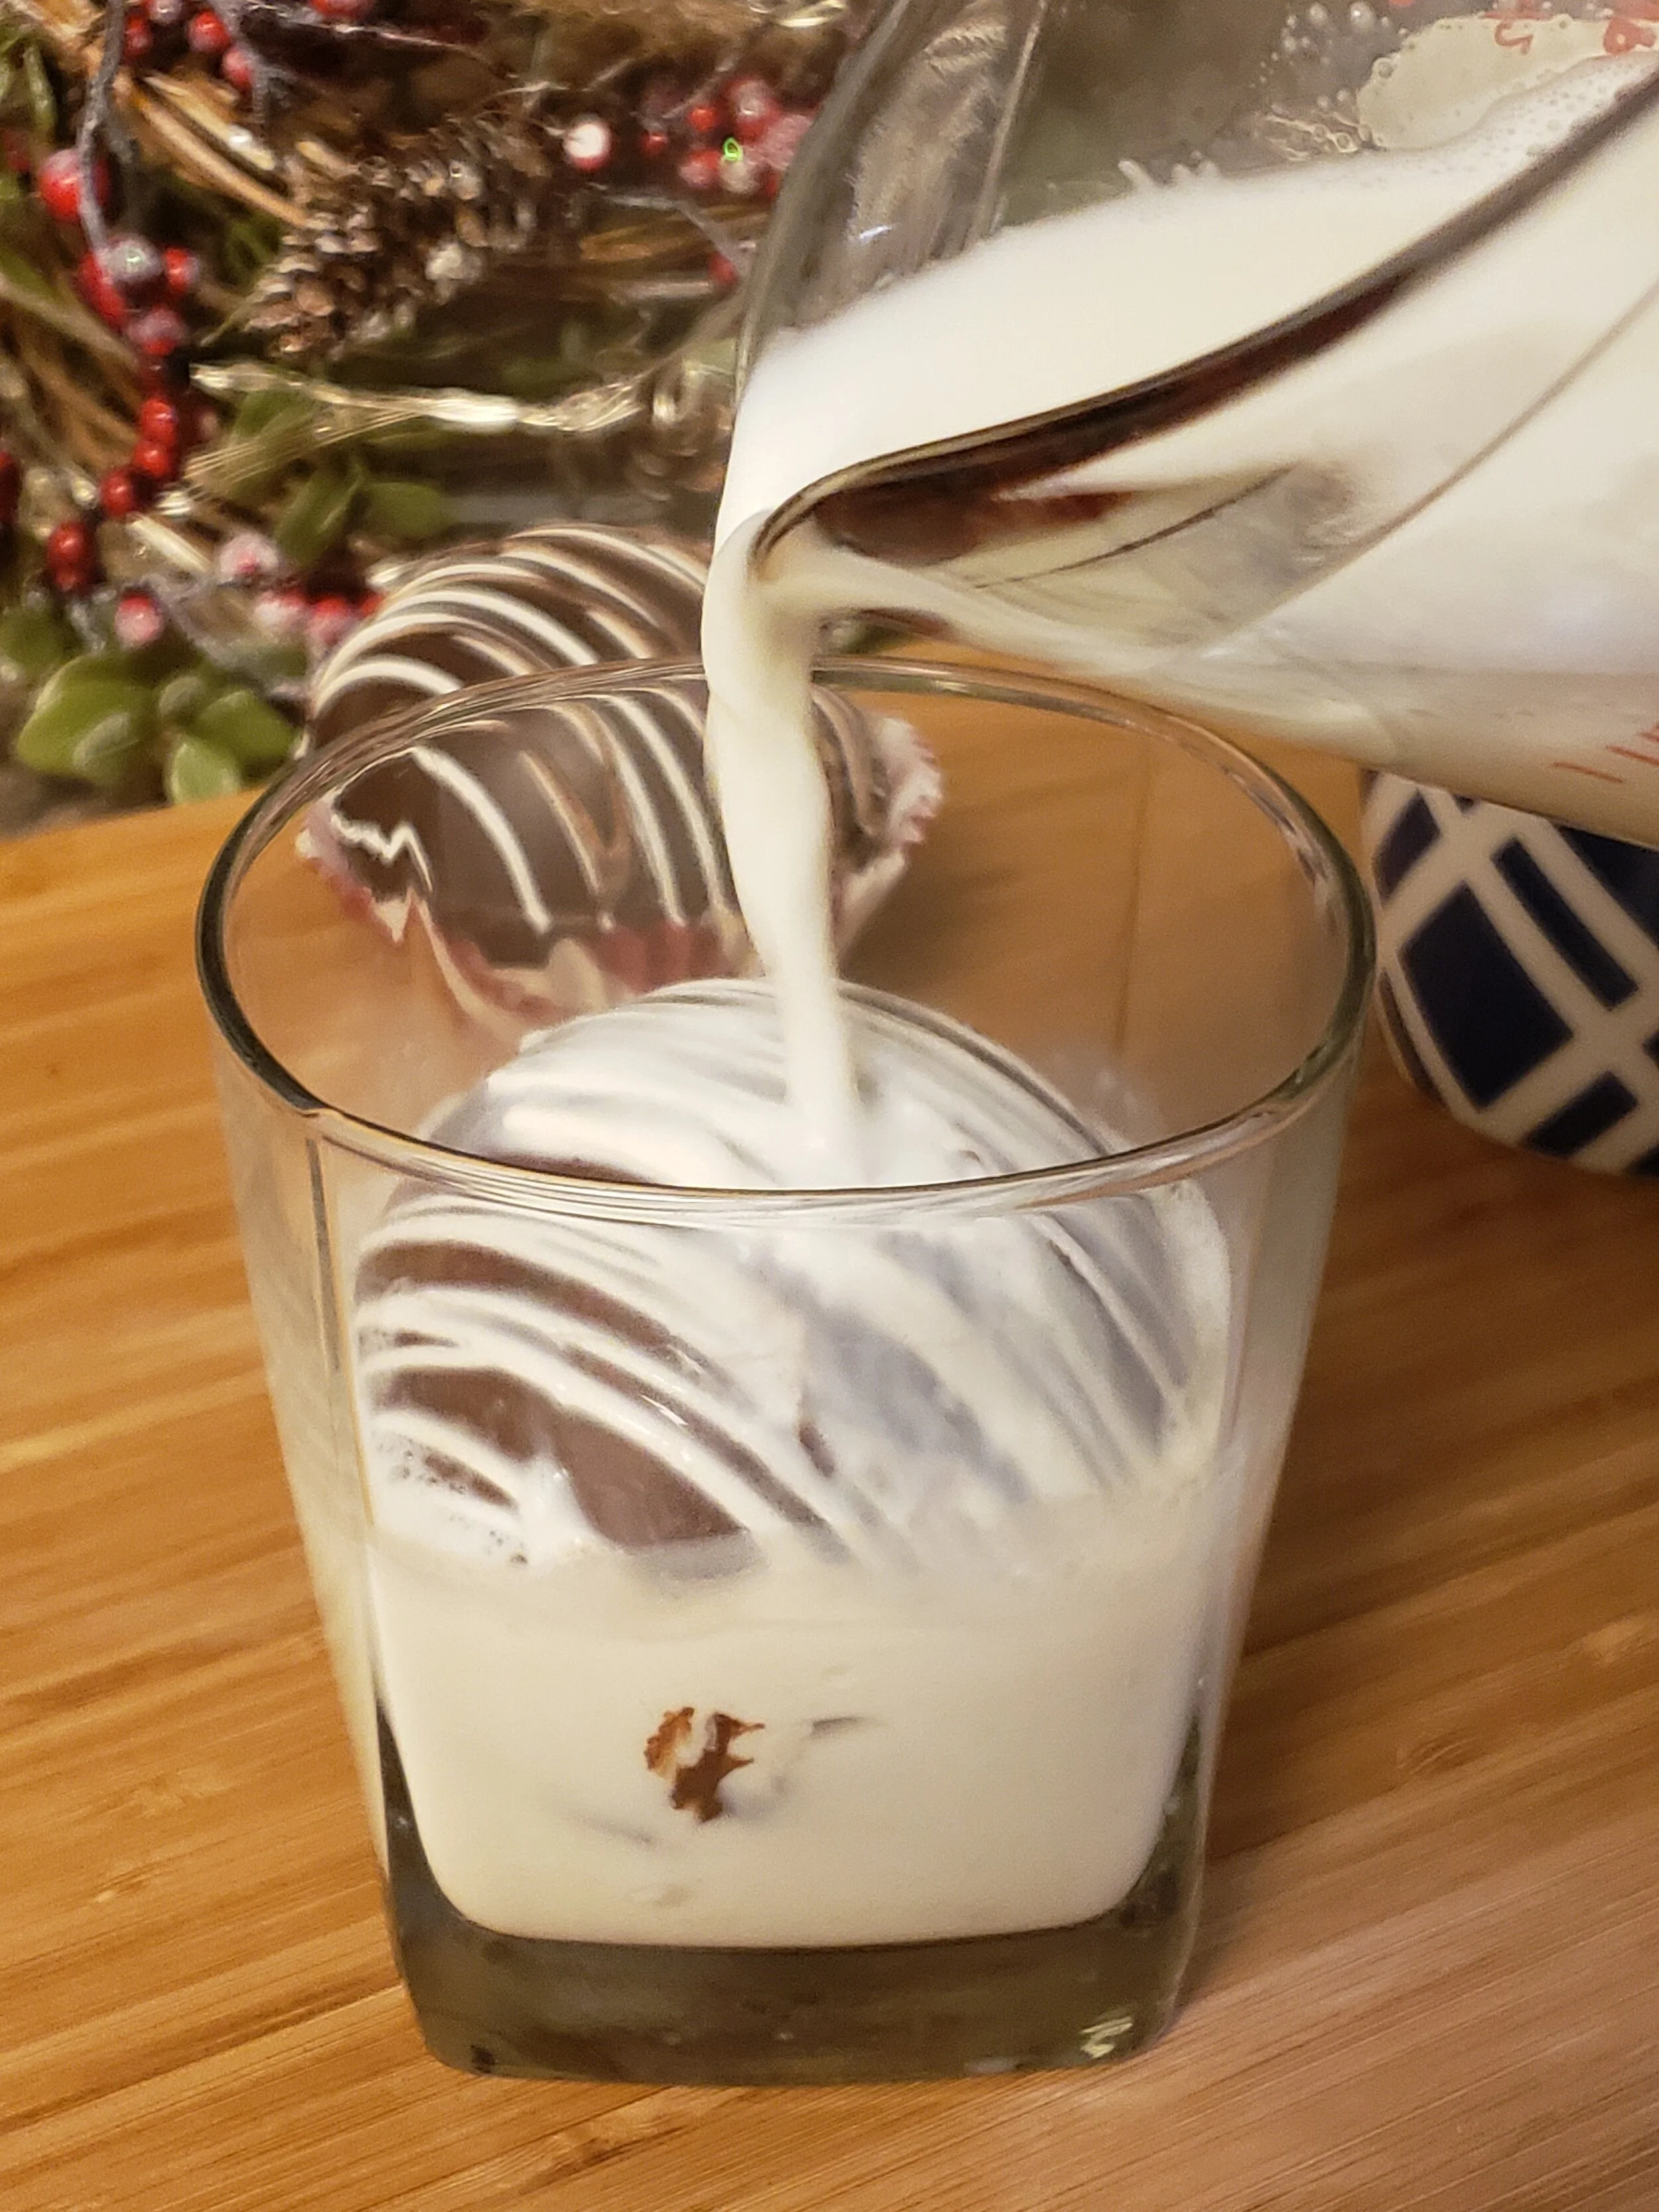
Step 5 Pour milk…
To serve, place a cocoa bomb at the center of a cup.
Pour 10 oz of warm milk into the cup and watch the chocolate melt and marshmallows float.
Stir until evenly mixed.
Enjoy!


4 Cocoa Bombs Recipes
Classic Hot Cocoa Bomb
1 tbsp hot cocoa mix
marshmallows
for a less-sweeter version, I skip out on the hot cocoa mix since the chocolate is enough to give it flavor
Hot Mocha Bomb
1 tbsp instant coffee
1 tbsp powdered creamer
marshmallows
Hot Peppermint Mocha Bomb
1 tbsp instant coffee
1 tbsp powdered creamer
1/2 tsp peppermint extract
marshmallows (drizzle peppermint extract in marshmallows in advance and allow to dry before placing in the chocolate shells)
bits of peppermint candy cane
Salted Caramel Cocoa Bomb
1 tbsp caramel sauce
marshmallows
pinch of salt
These are so fun to make! If you haven’t learned how to temper chocolate, I promise you it’s well worth the effort! Plus, there are so many things you can make once you get the tempering mastered. Cheers!

Hot Cocoa Bomb Recipe | The Sweet Savory Life

Hot Cocoa Bomb Recipe | The Sweet Savory Life

Hot Cocoa Bomb Recipe | The Sweet Savory Life