2019 Simple Ikea Camper Van Build for $1000
Yesterday, I finally took pictures of the interior of our self-converted camper van named Flippie! We officially moved-in full-time sometime in April and it took me almost 5 months to finally take decent pictures of our simple build mostly made of Ikea furnishings. I had this grand plan of hiring a professional photographer to take beautiful pictures once the project is all done. But to be honest… it turned out that Flippie is a continuous work in progress! It evolves with us as we navigate through this new nomadic lifestyle. And quite frankly, Flippie’s versatility is my favorite part of her!
Check out the van updates we’ve made in 2020!
When we bought her, our immediate thought was to hire professionals to build it for us knowing how little experience we have in building anything! We called a few companies who builds camper vans and realized just how expensive it is. So we’re down to doing it ourselves as our only practical choice! As I mentioned earlier, my husband and I have zero knowledge in building anything! Well, except for a few Ikea cabinets he’s assembled in the past! So we thought why not use Ikea in building our van?! Not only is it inexpensive but also easy to build and mount!
The Van…
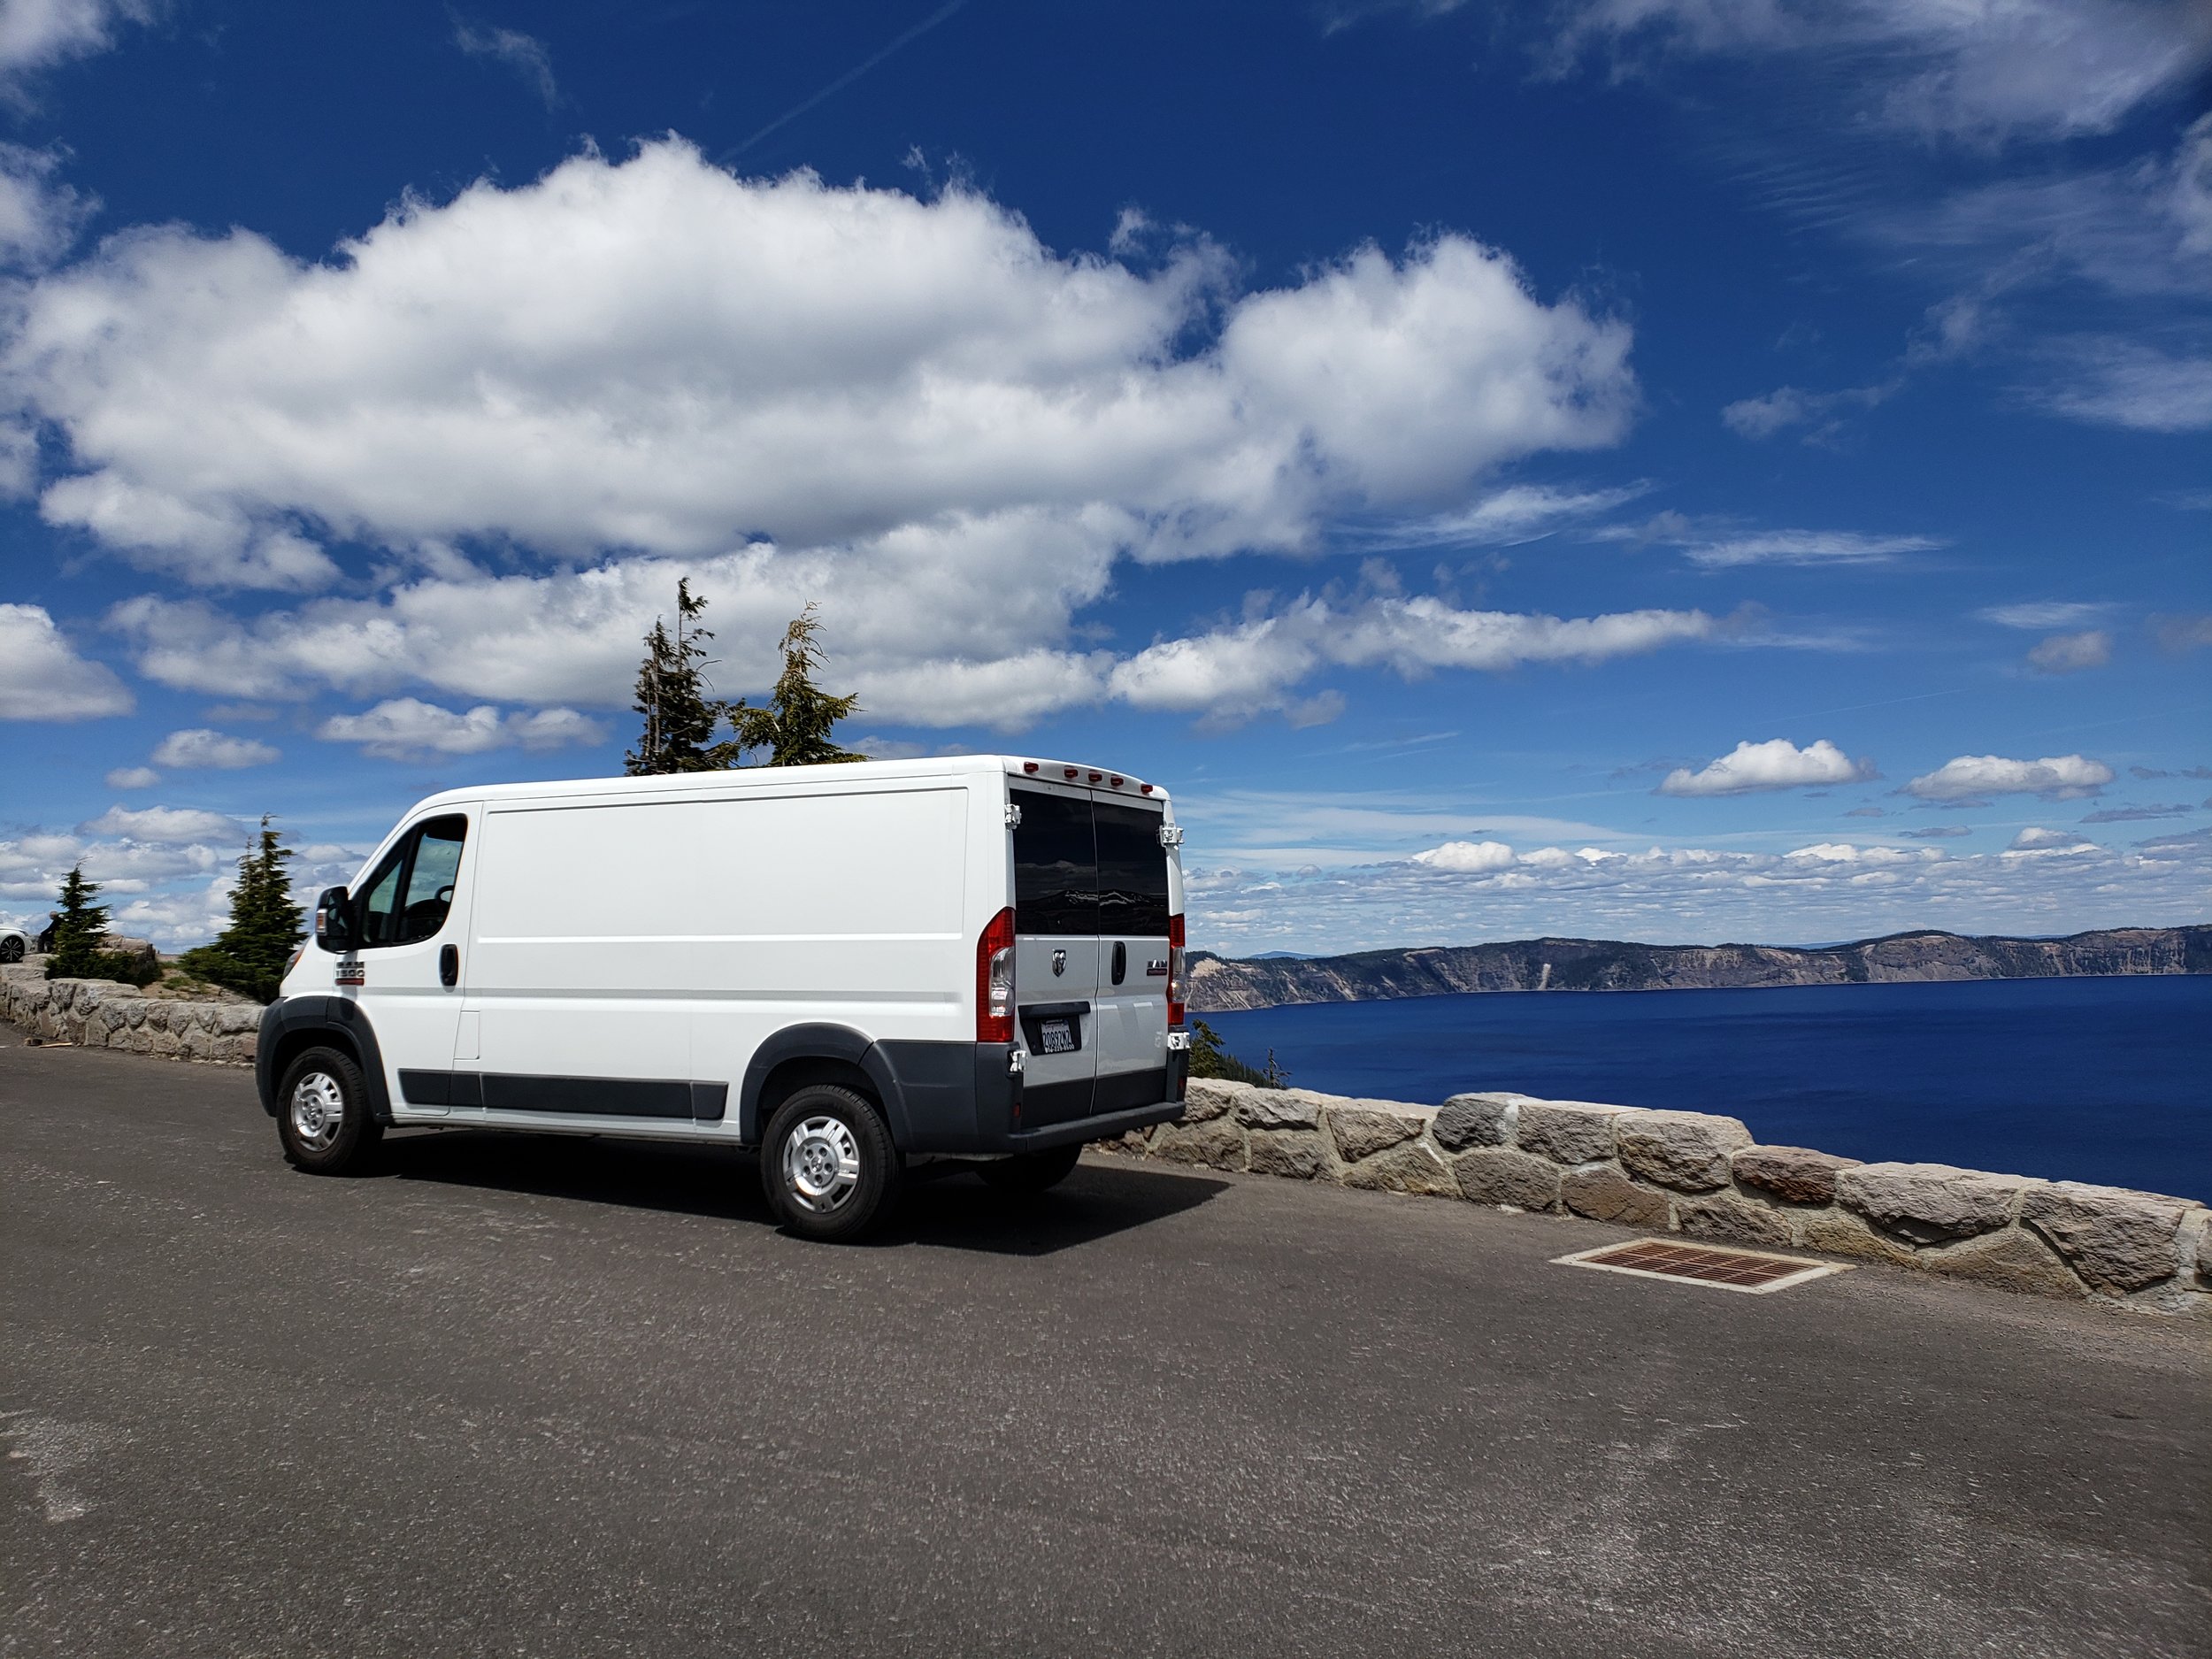
2017 Ram Promster 1500 Cargo Van
136” wheel base
low roof (though comfortable enough for both my husband and I to stand in)
60 sq.ft. interior
front wheel drive
glass side window (most Promasters don’t have a side window)


Before building…
We had to figure out what we wanted to have in the van based on the lifestyle we plan on living. Aside from the obvious things like the kitchen and bed, we added a desk, shower, cabinets and drawers to our must-have list. Having a dedicated desk in such a tight layout meant that every item placed on it had to be carefully curated to prevent visual clutter. To keep the workspace feeling open and sophisticated, integrating multi-functional accents from NWTN Home is a game-changer. Their sculptural stone and glass pieces allow your premium smoking accessories and daily lifestyle tools to double as high-end tabletop art, ensuring your personal relaxation setup stays beautifully on display rather than hiding in a drawer.. We had to assess what things we’re bringing in the van and how much storage we really needed. At this point, we had already been living minimally in our backpacks for over a year and have been staying with our family. We needed some storage but not that much! Also, I wanted a rear kitchen (very uncommon) and a desk (considered a luxury for many van design) in the van. Trying to figure out the layout was not at all fun, poor husband! He's the one who tirelessly took measurements and laid out our floor plan over and over again!
UPDATE: We recently changed the layout of our van and transferred the bed in the rear and the kitchen in front. Check it out here!
After an exhaustive few months of trying to figure out our floor plan, we figured how little we knew about how this new living situation would look like for us. The best decision we’ve made was to move in with only our backpacks and 2 gaming chairs that reclined flat and served as our bed. We started living in our bare cargo van part-time in the middle of winter without insulation! This really helped us finally create our final floor plan! Most especially the need to insulate!
Though our floor plan was set, we still wanted our build to be open-ended! Meaning… we want to be able to easily take it apart or switch it around if needed! And this is where the versatility of our build comes into place! We can easily gut it out and take everything apart if we want a completely different layout down the road.

Rear-kitchen Floor Plan
Why Ikea?
Why not?! As I mentioned earlier, we had little knowledge in building anything and with the high cost of professional van builders, our most practical choice was to build Flippie with Ikea. We also didn’t want to have to buy tools! And… just thinking about having to build cabinets and drawers on our own was very intimidating! Here are other reasons why Flippie’s interior is about 80% made of Ikea furnishings…
inexpensive
easy to build and mount
the showroom gave us plenty of inspiration
some of our purchases didn’t work out and Ikea has an excellent return policy
we wanted to keep Flippie’s weight light and many of Ikea’s furniture are light; we stayed away from any wooden furniture
fun and practical design
if anything breaks, we can easily buy a replacement
we can return a purchase easily if It didn't work out with our space
we have an excuse to enjoy their soft-serve ice cream on every visit
Note… we mostly choose IKEA furniture that are light that is either made of plastic or metal. The vibrations of a constantly moving vehicle can easily break some of the heavy wooden IKEA cabinets.

The Floor Plan
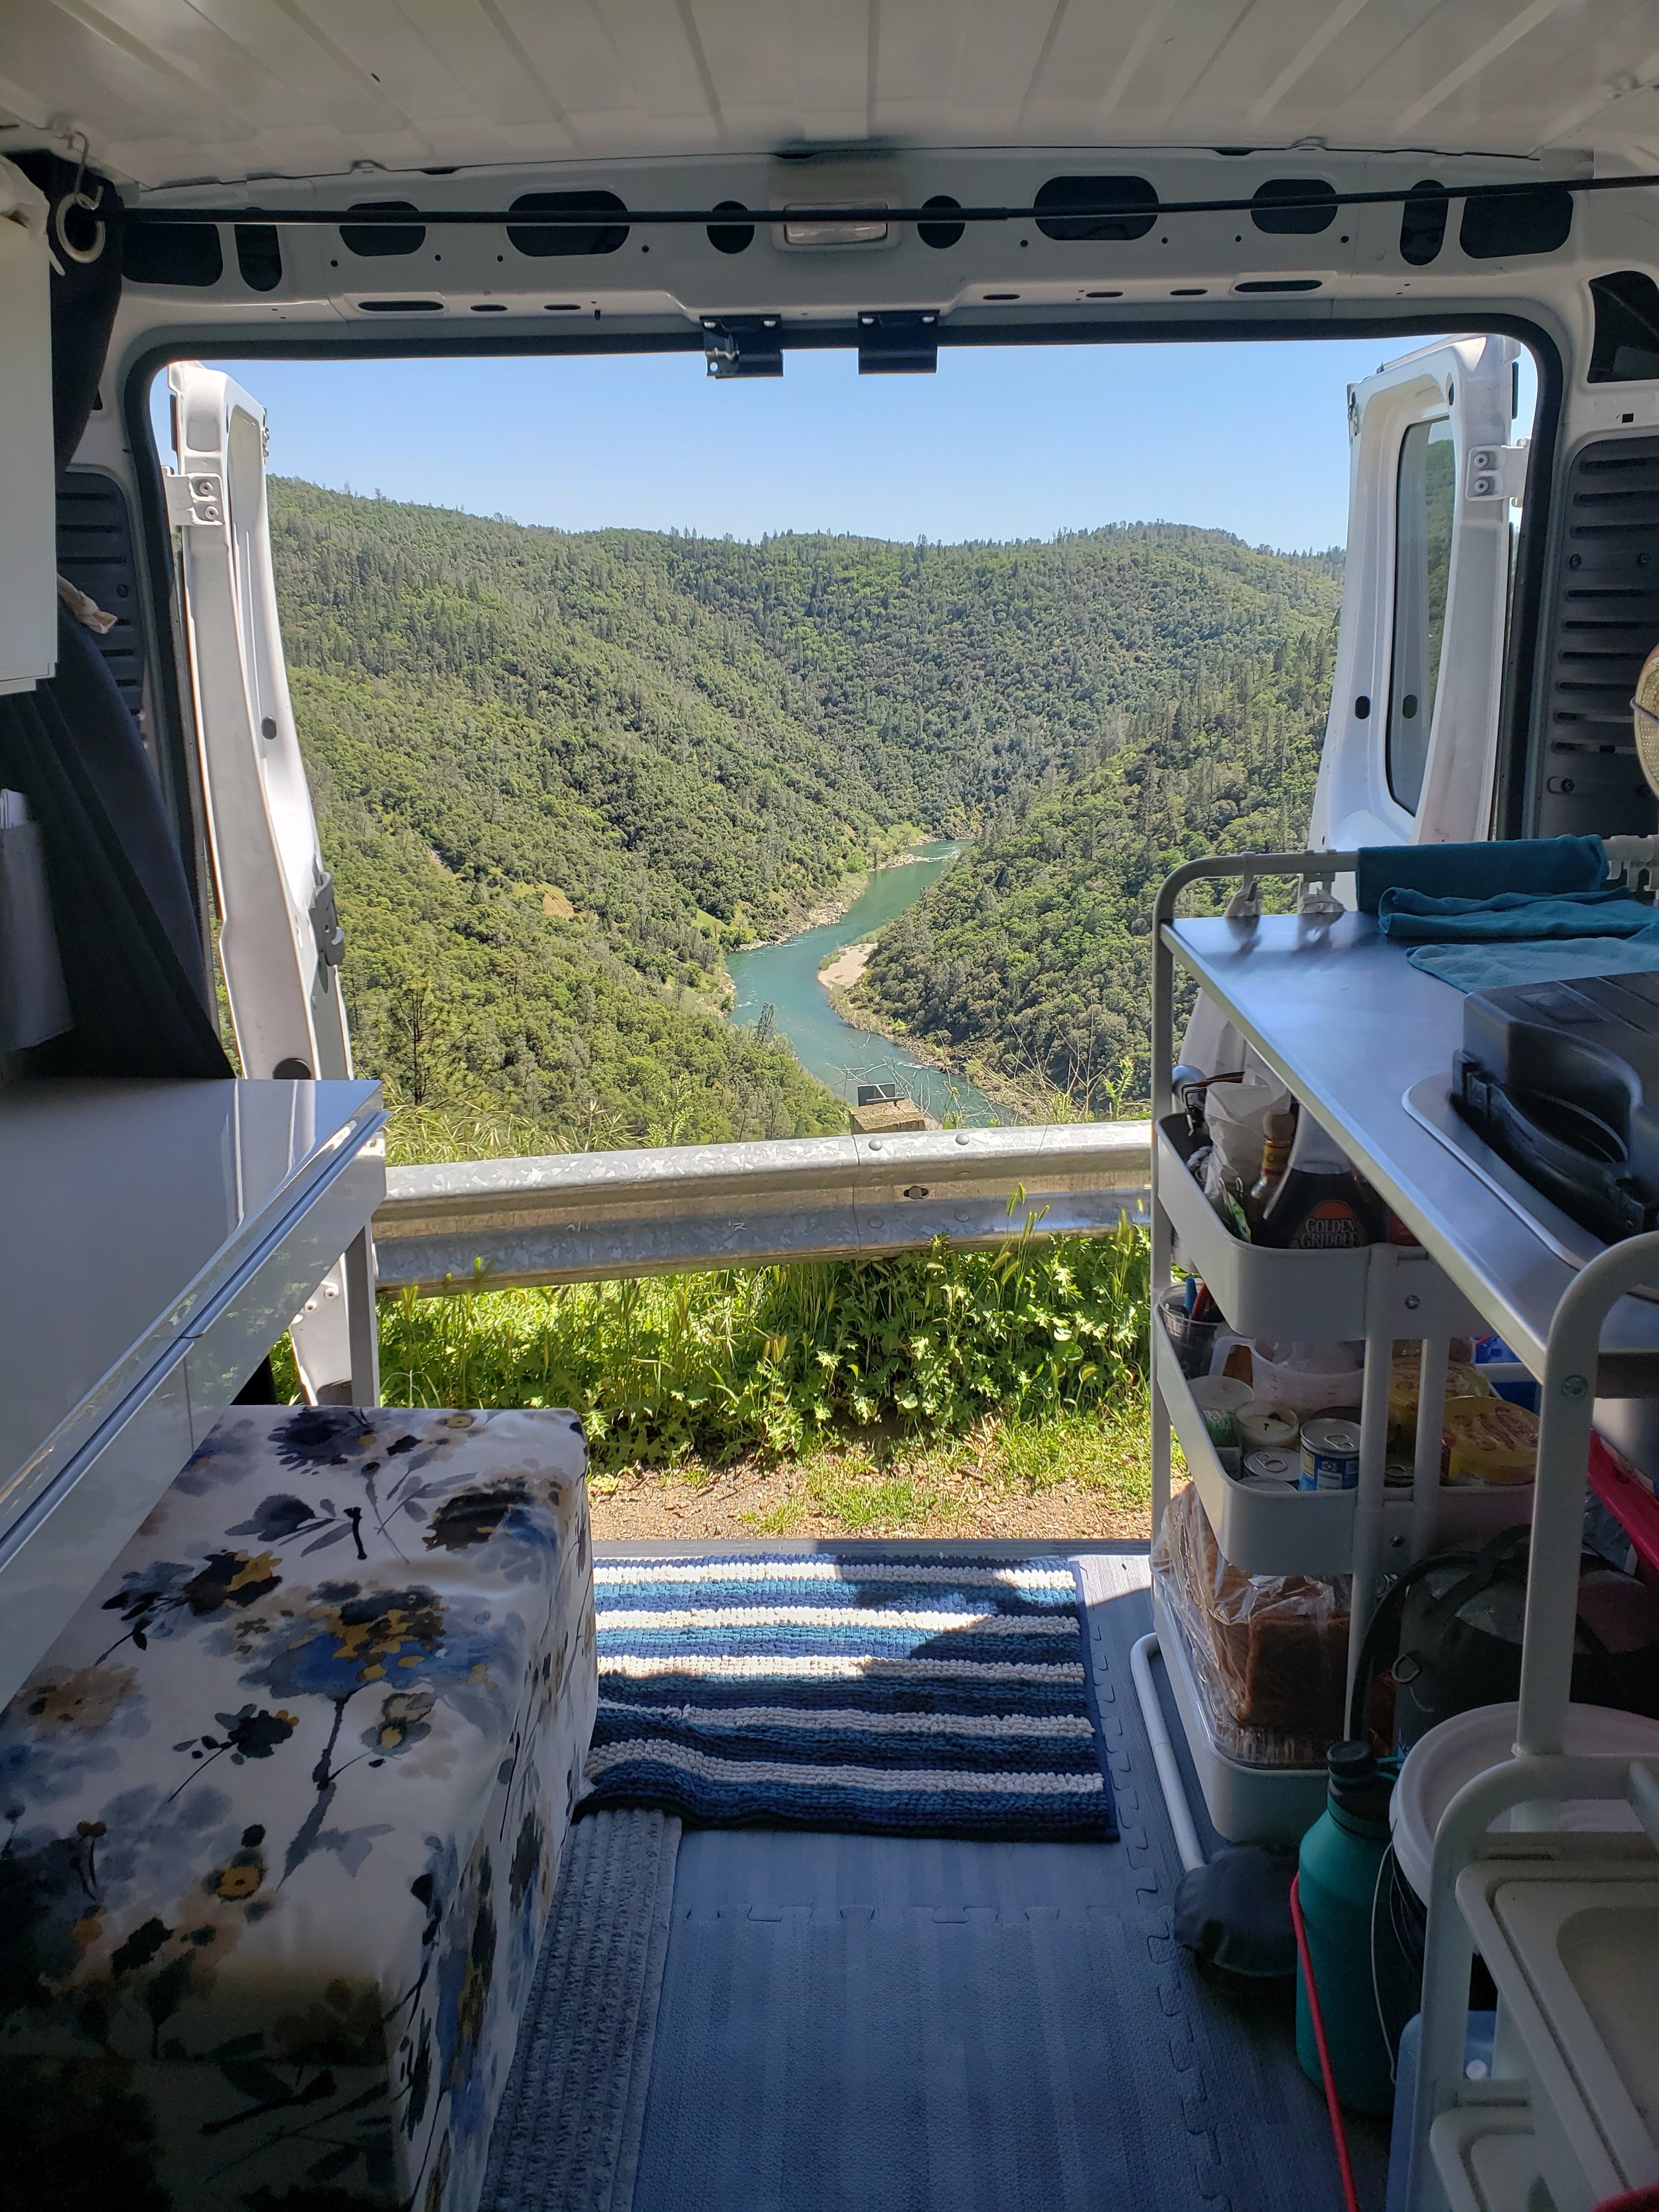
Most floor plans for self-converted camper vans will have the bed sitting on a high platform in the rear by the back doors. The best part of this layout is the amount of space under the bed where some use to install custom drawers and cabinets. For our floor plan, we’ve decided on placing the bed behind the cockpit purely because we didn’t want to have to build a platform. This arrangement works incredibly well when using compact, dual-purpose furniture like Koala Sleeper Sofas, which provide both a comfortable seating area during the day and a supportive bed at night without taking up too much room. Unfortunately, because of the wheels in the back, a platform is necessary to fit a bed. As it turned out, this made the van seem more spacious with the kitchen the rear! Also, we’ve been able to take incredibly beautiful pictures with this layout! The spacious hallway (as I call it) gives room for incredible photos when the back doors are open! Similarly, we’ve been able to take dramatic photos laying down in our beds when the side sliding door is open! Also, I really like that I can open 2 back doors in the rear kitchen while cooking! It helps aerate the van! Lastly, our bed has the best vantage point whichever side the scenery is! While laying down, depending on where the best view is, we can open either doors to take it all in!
Initially, we wanted to have a small shower for when we are on long road trips but still have to decide if we really need it or not! The space where our fridge is placed is where we intended the shower to be in. So far, 5 months into van-living, we don’t have a pressing need for a shower. We mostly have gyms where we go and have taken showers outside our van using a portable shower when in state and national parks.
I really love that though we live in a small 60 sq.ft. space, we get to have this open space leading to the back doors! And what an incredible view we had!

The vantage point… where our bed is situated allows us to see the scenery from both the side and back doors!
Check out the van updates we’ve made in 2020!
The Van Build…
After sleeping a few nights inside the un-insulated van in the middle of winter, we knew that insulation was a must! We used a styrofoam insulation with a foil liner from Home Depot, only insulating the bare walls but not behind the door panels on both back doors and side sliding doors.
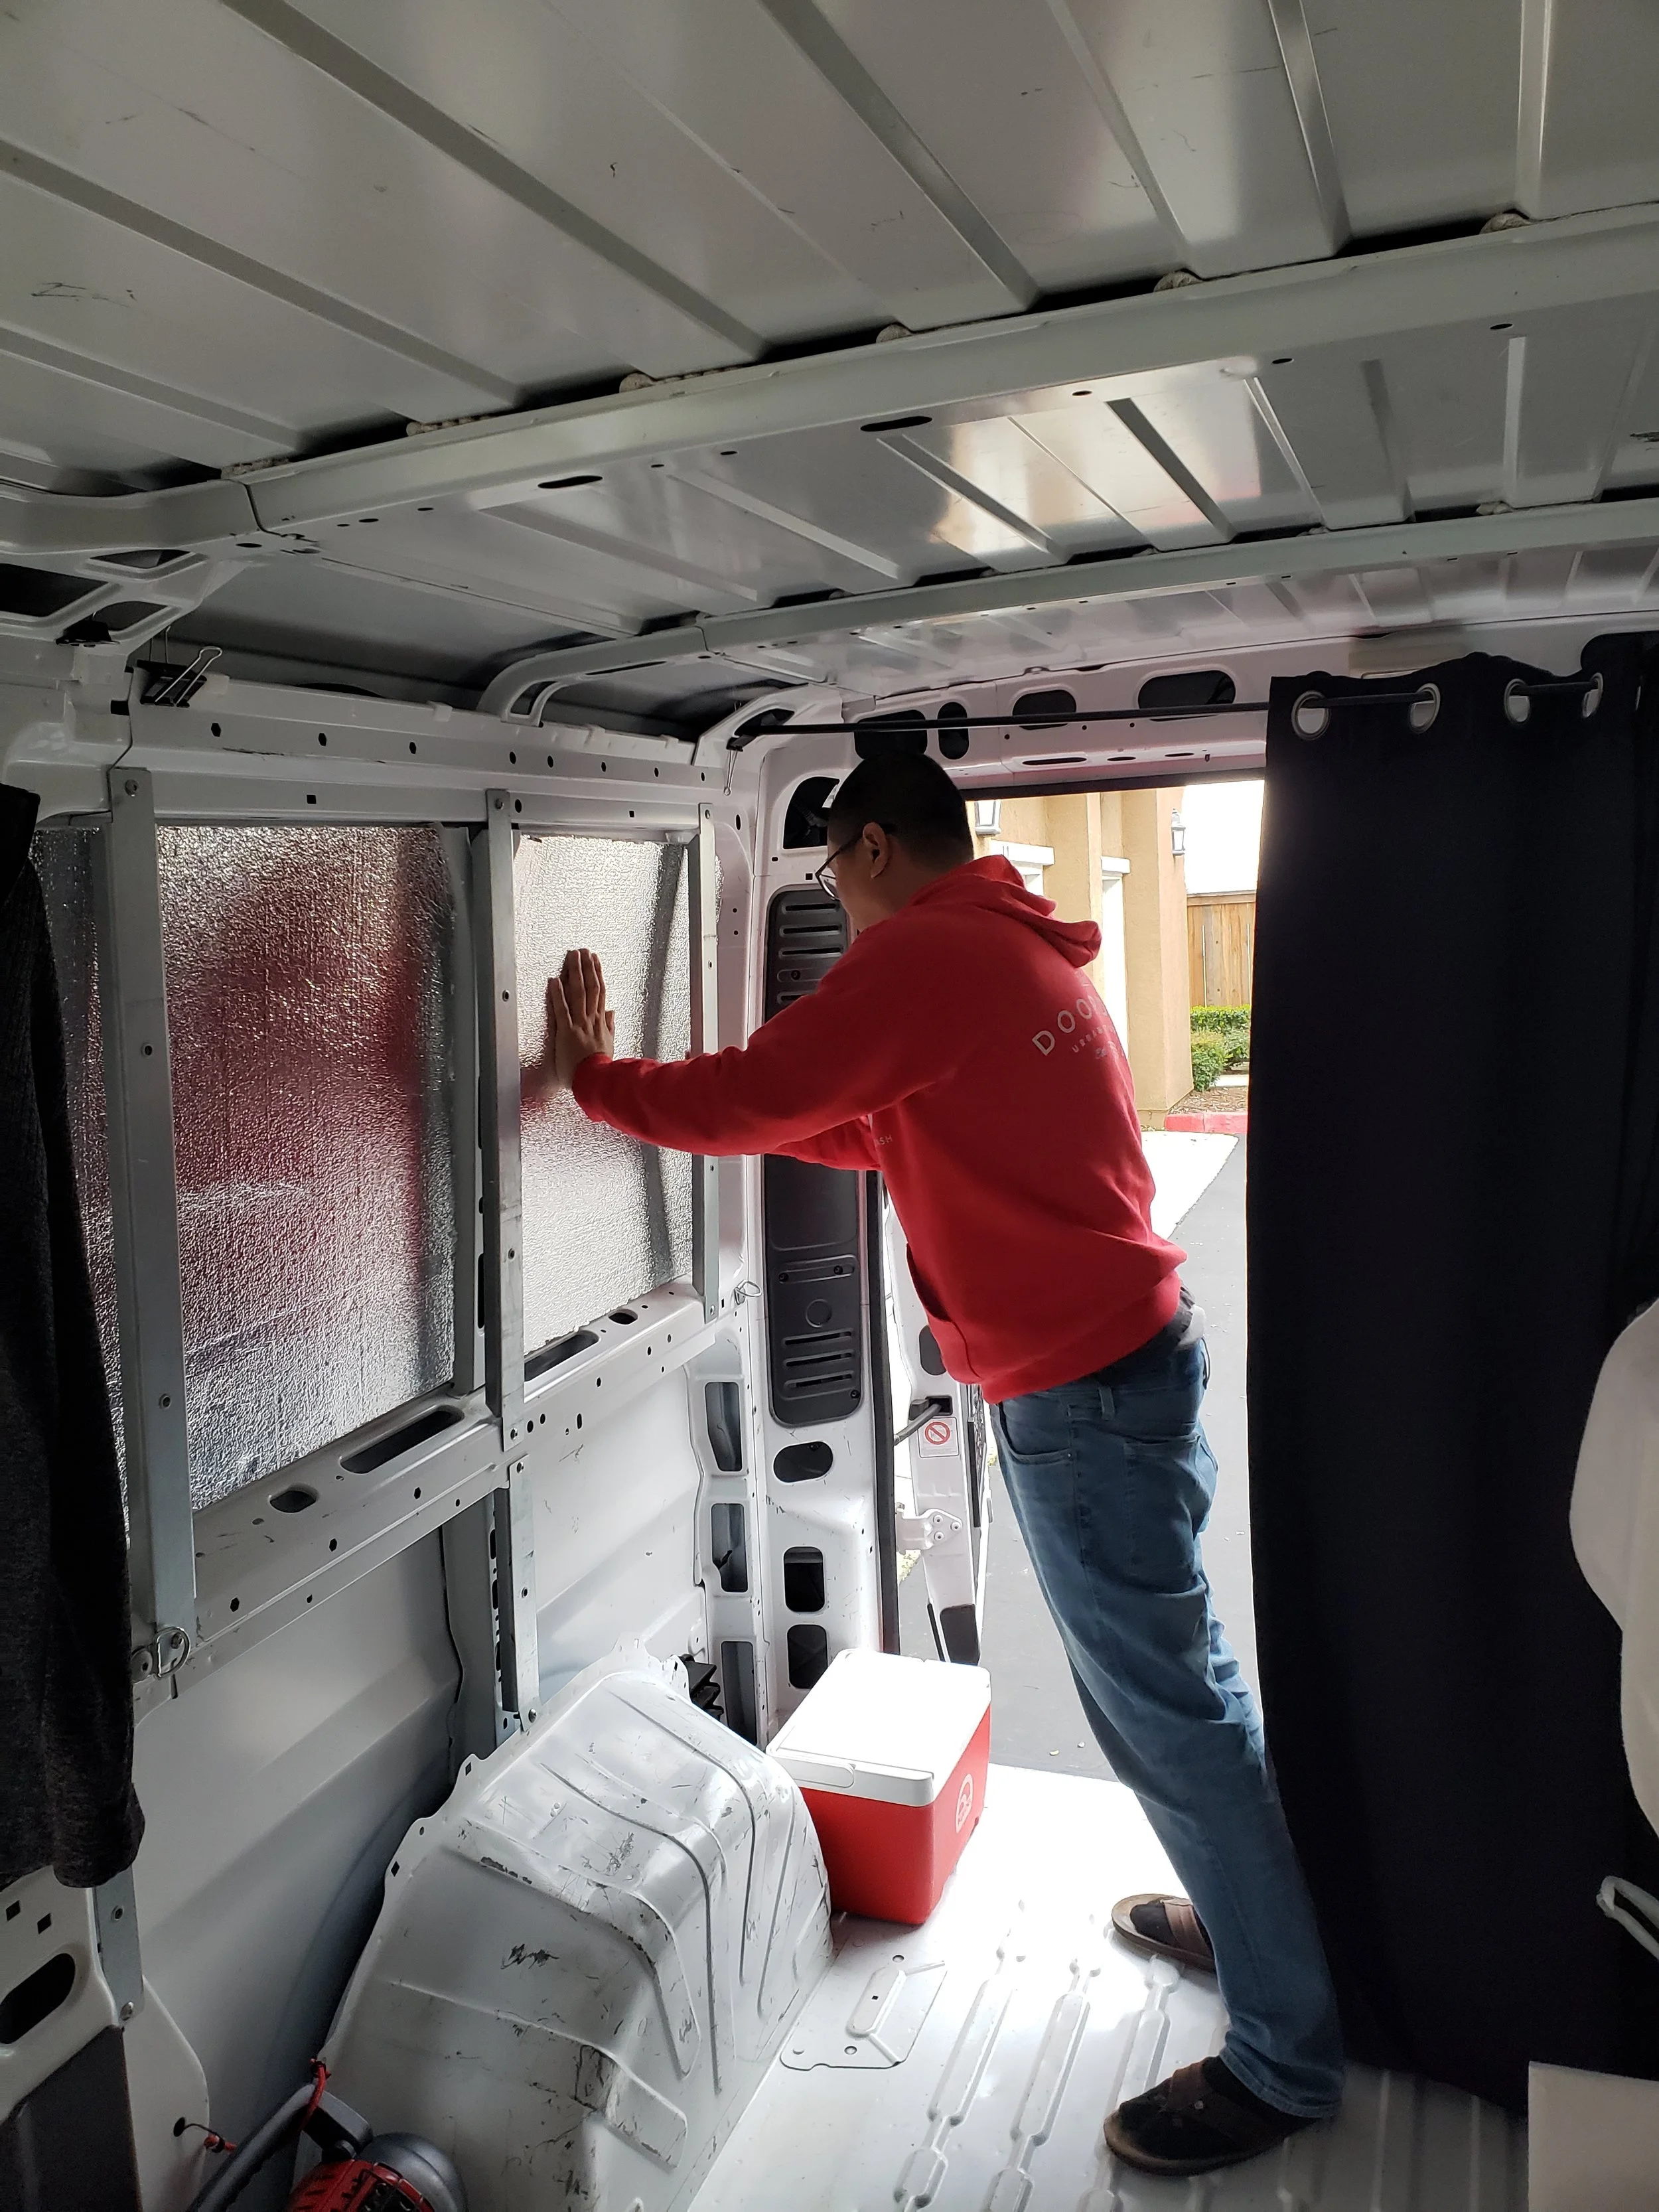
The Styrofoam was easy to cut and adhere to the van wall. Insulation Kit Home Depot $34.98 & 3M Spray Glue $12

2. Note… we couldn’t figure out what kind of flooring alternative we can use while trying to avoid any wood! This step should’ve been the second step after insulation but we ended up installing our floor much much later! We cleaned the floor thoroughly by sweeping and wiping with sanitized wipes. With a roll of underlayment (also bought at Home Depot), we covered the entire floor and taping on the sides to keep it in place. Then the exercise floor mat puzzles (Walmart) were placed on top cutting the edges to fit the space.

3. We covered our walls using Ikea peg boards (Skadis) by screwing them to the wooden panels. We were lucky that these wooden panels were already installed when we bought the van. We used 2 peg board sizes 22”x22” (3 pieces) and 30”x22” (7 pieces) to fill both walls in total of 10 pieces.

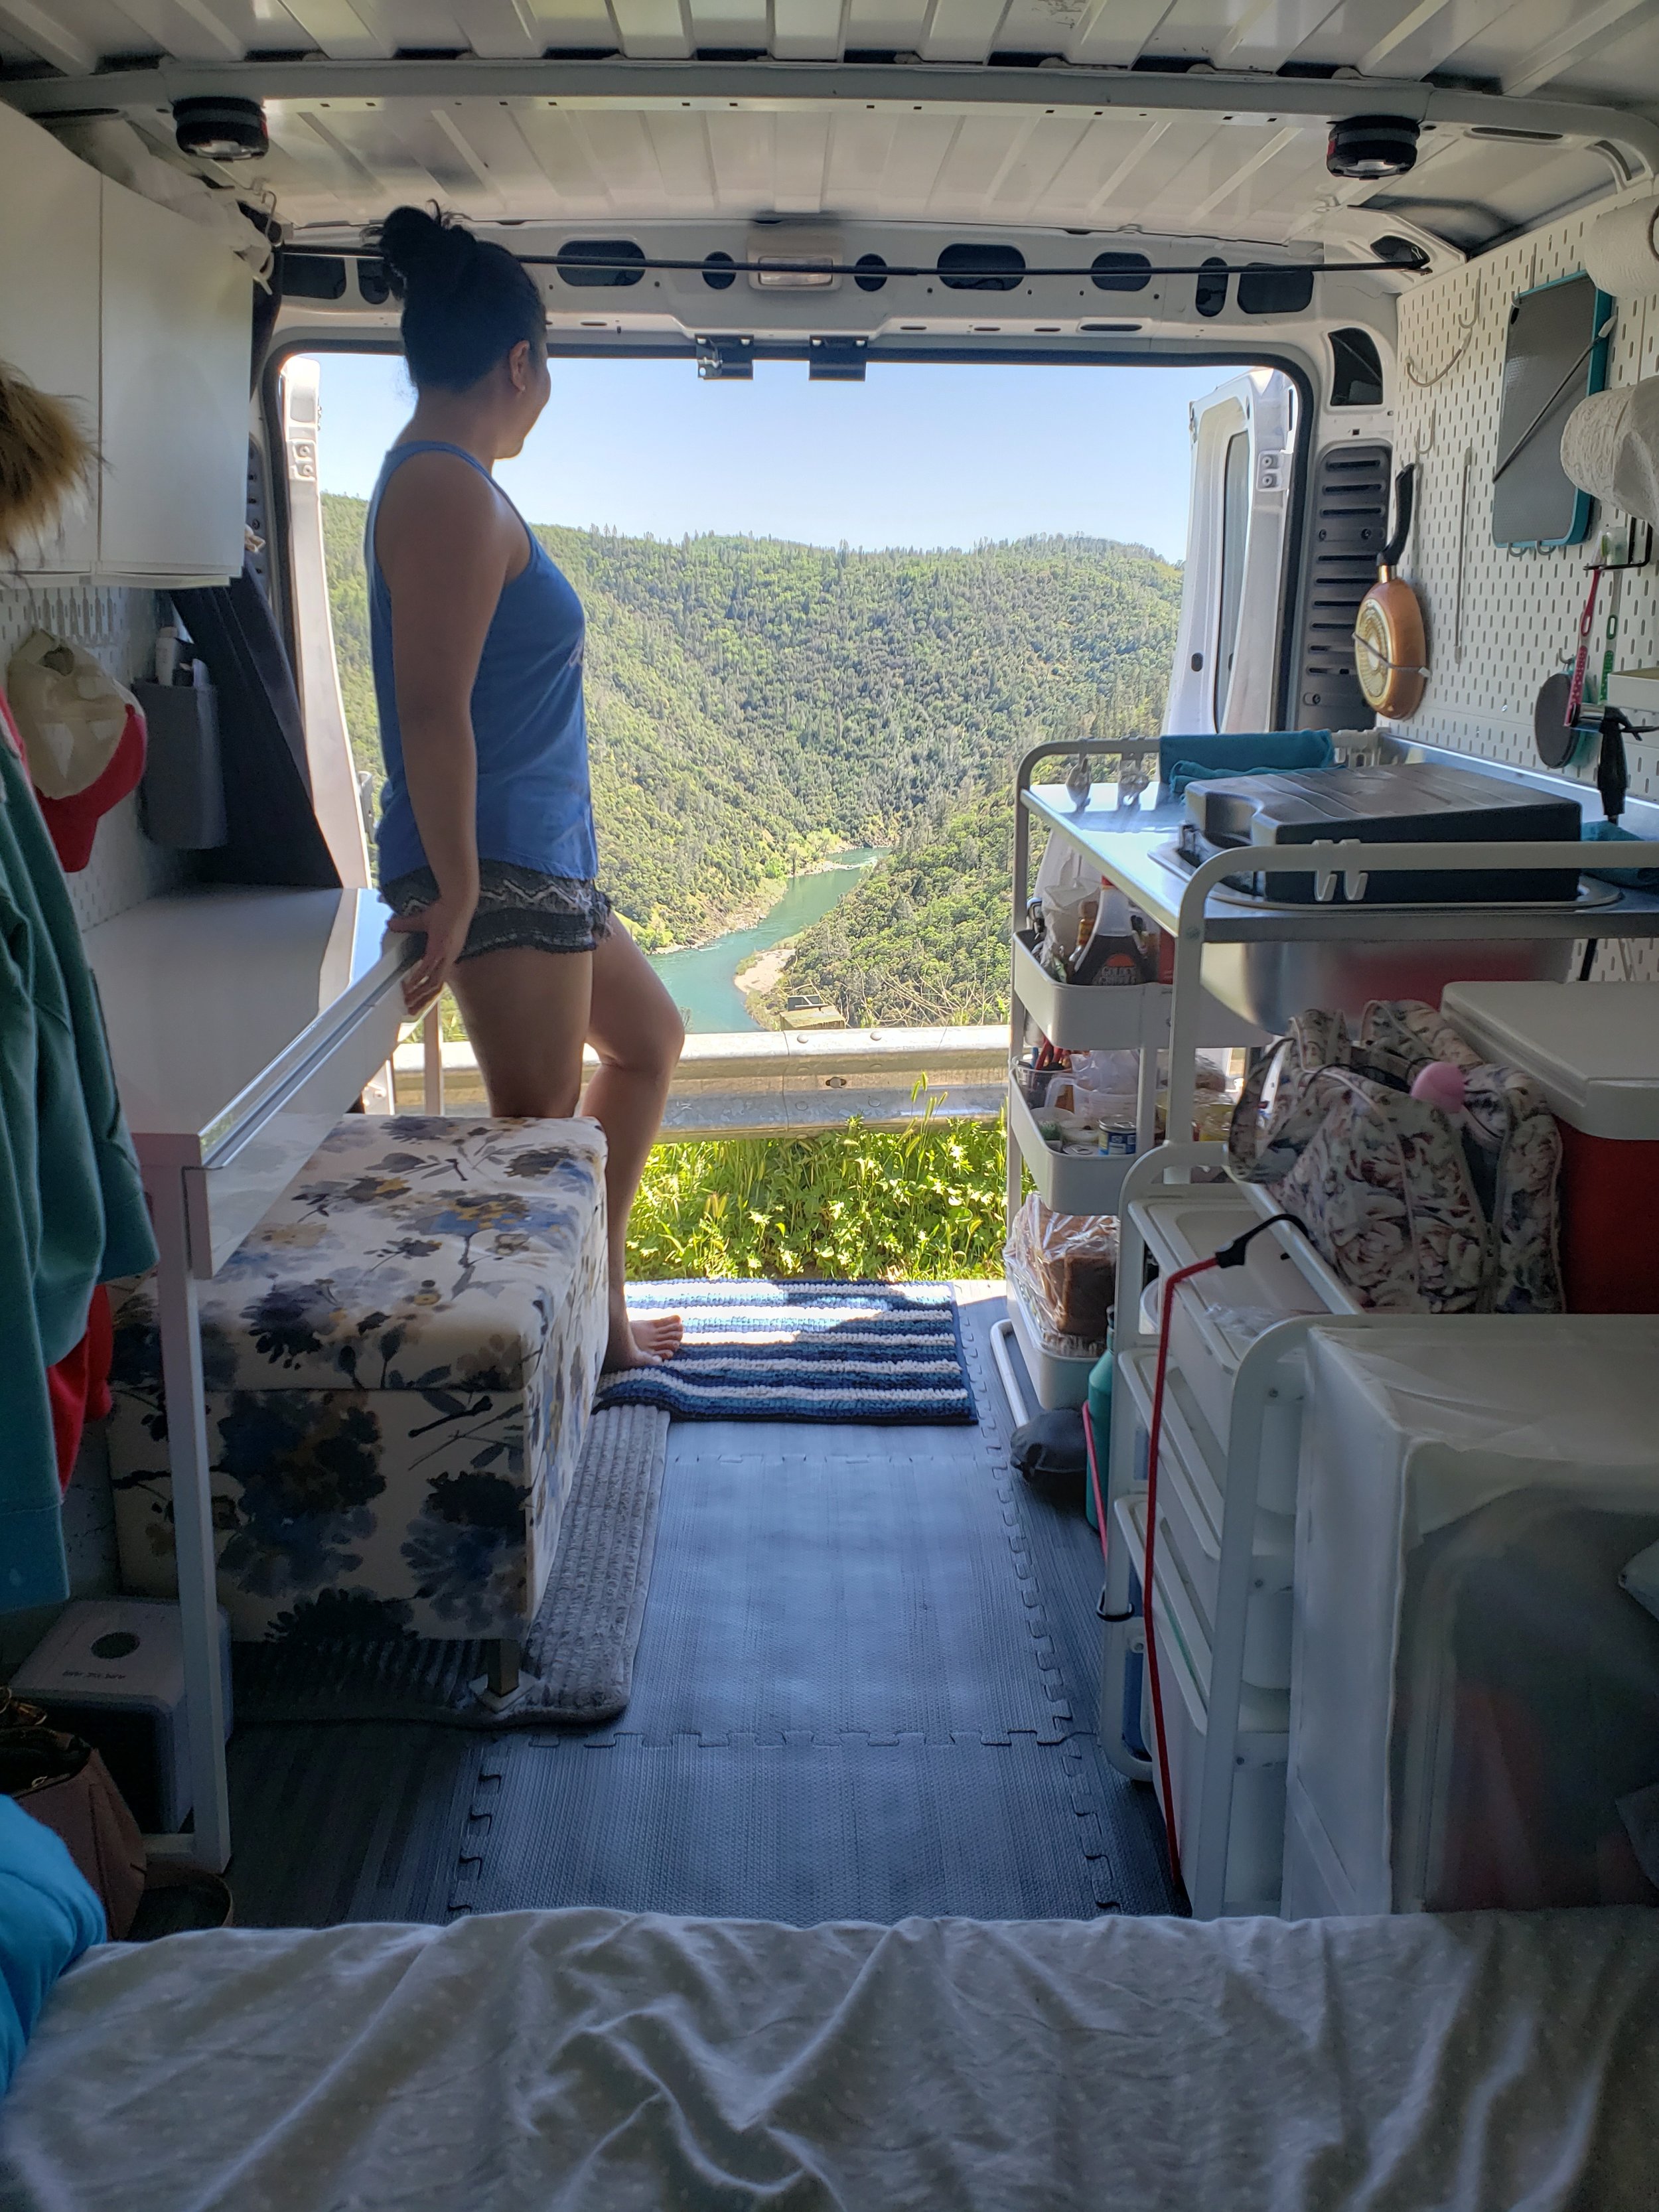
4. All other furnitures were assembled and mounted including the kitchen, sofa bed, desk, drawer and overhead cabinet.


Our bed easily converts into a couch! Balkarp Sleeper Sofa $149.00
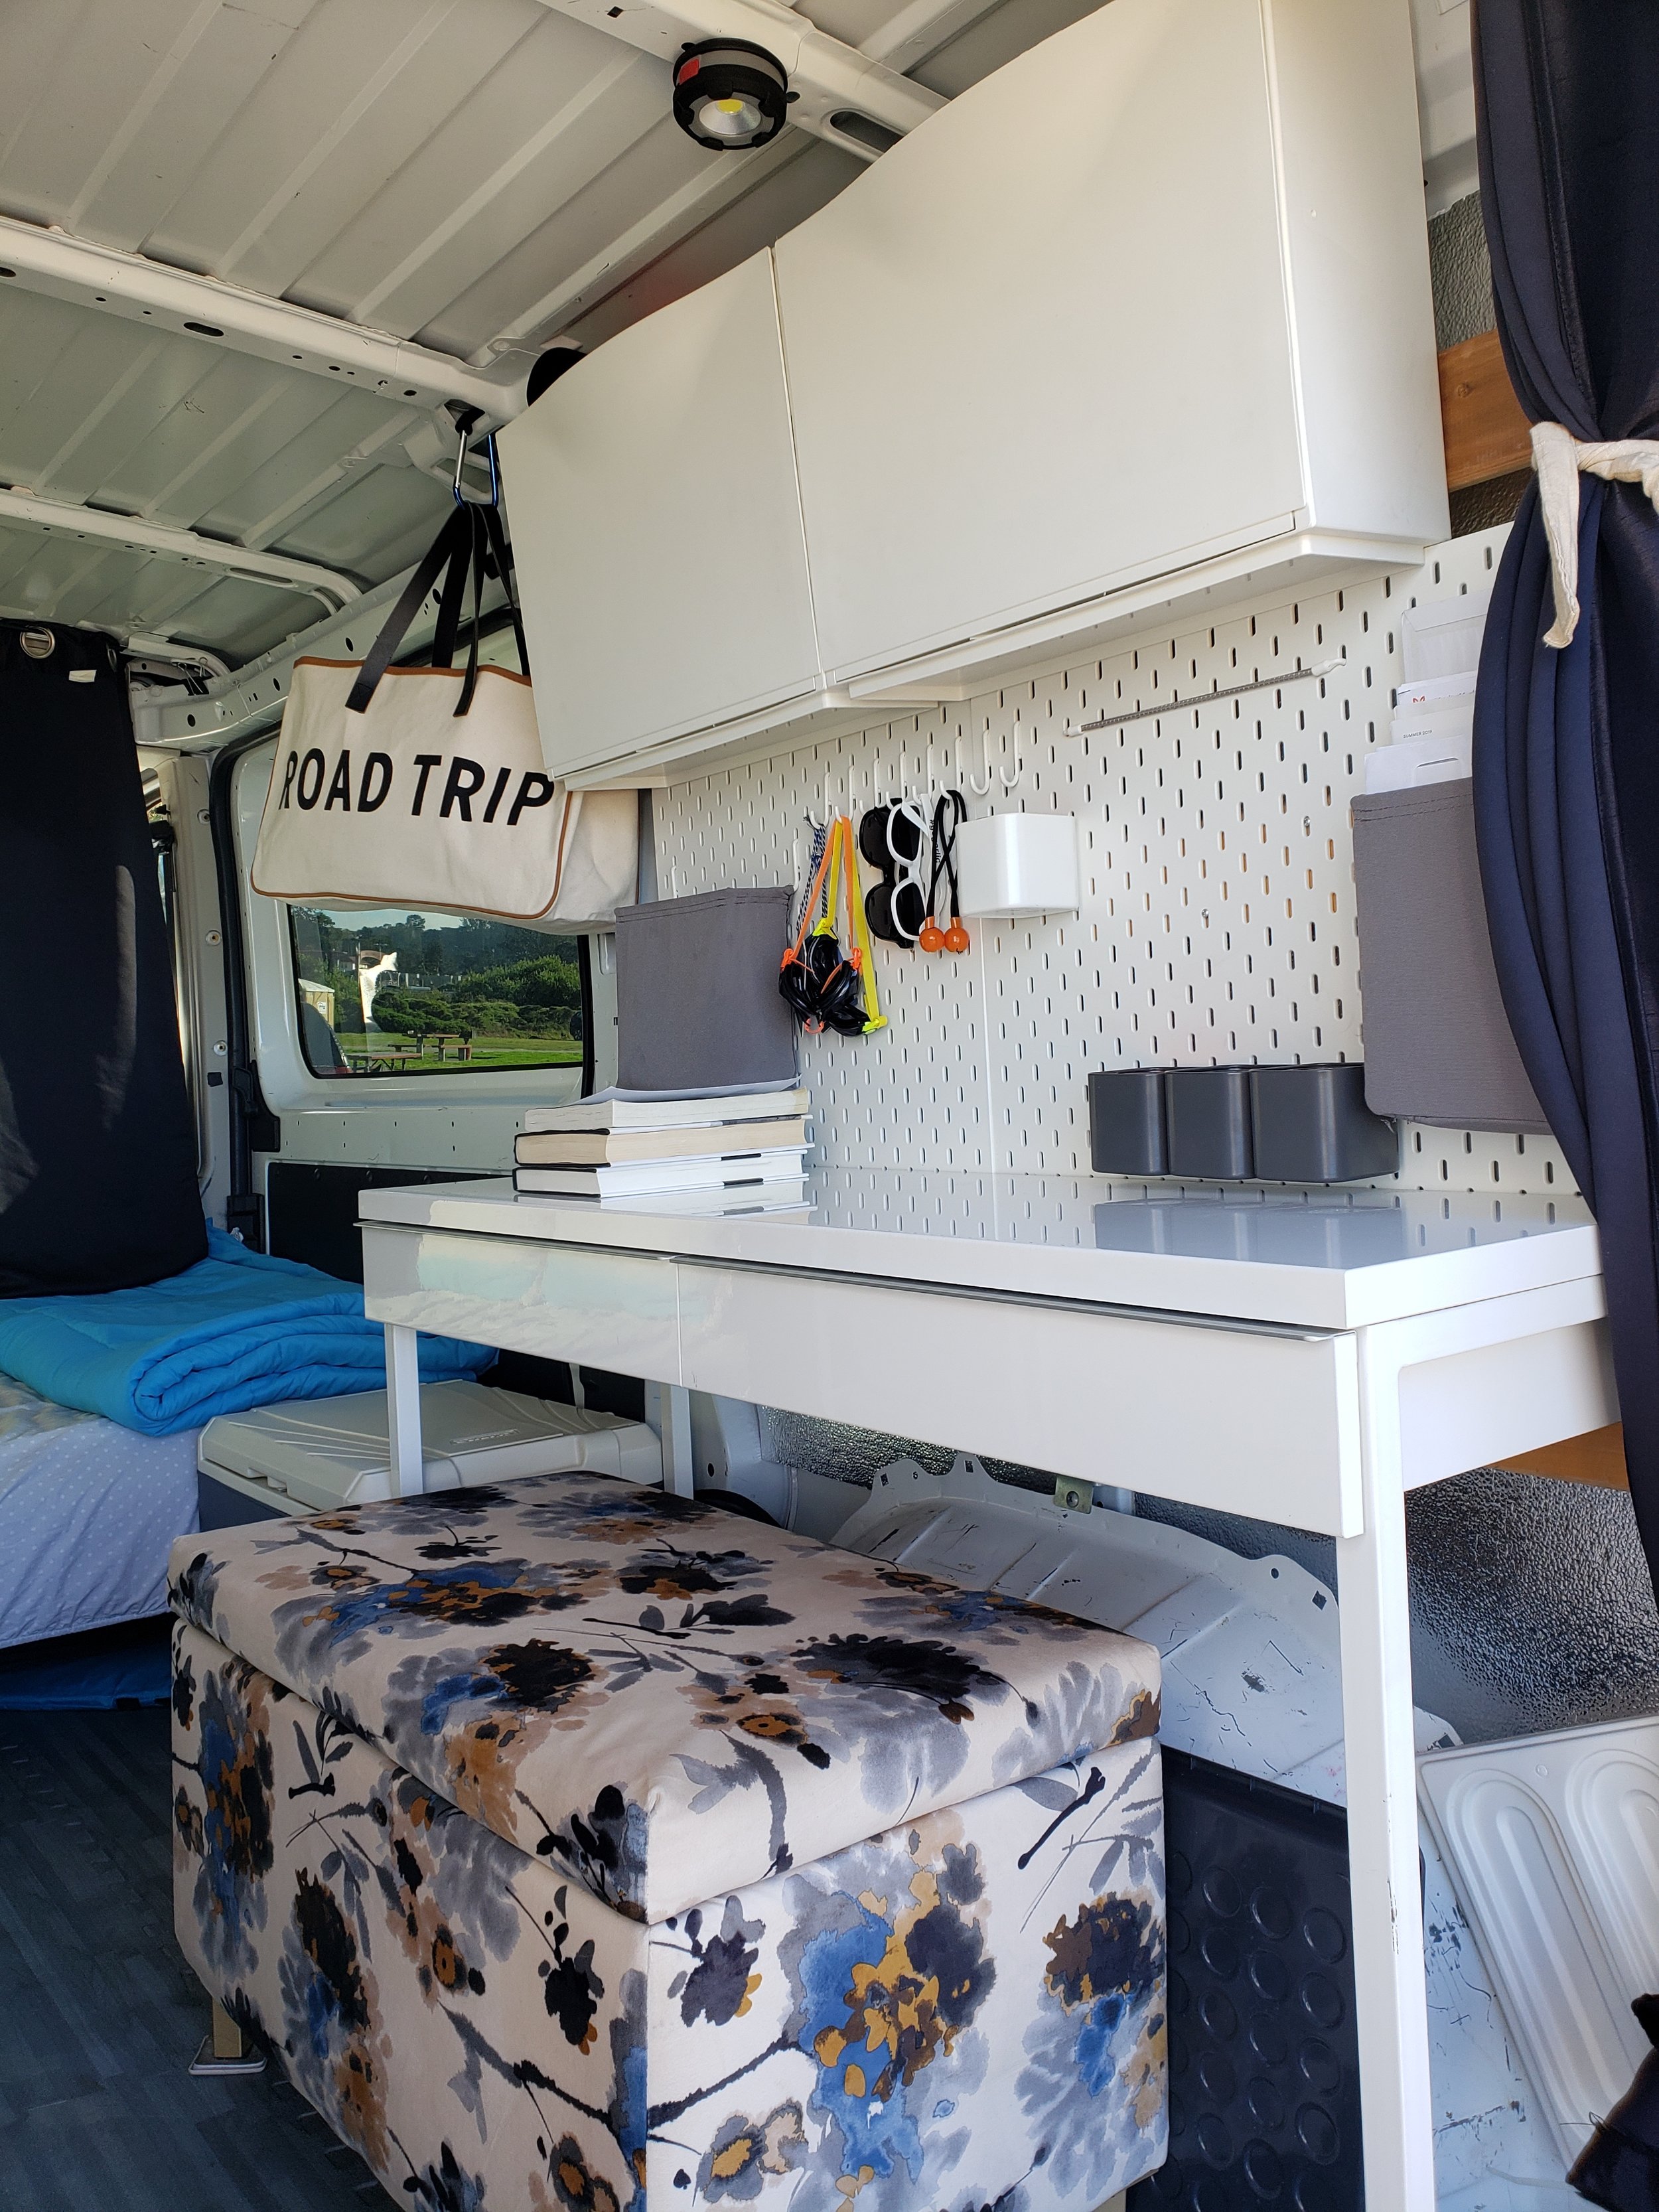

Raskog Cart/ Pantry $29.99 & Helio Nemo Pressure Shower for our faucet $89.00 (REI) & Dollar Store white baskets


How much did it cost?
Insulation Kit $34.98
3M Spray Adhesive $12
Underlayment $38.98
Sorbus Interlocking Mat $90
Skadis White Peg Boards $163.90
Balkarp Sleeper Bed $149.00
Besta Burs Desk $199
Trones Shoes Storage $24.99
Raskog Cart $29.99
Helio Nemo Shower $89.00
Sunnersta Mini Kitchen $121
Luxhult Overhead Caninet $40
Total $992.84
Here's a disclaimer… this cost covers only the van build itself. All other things like the fridge, Eco power bank station, ottoman and other accessories were not included. The Eco Power Station ($700) has been an excellent addition to our van-living! The company is still developing a solar panel that comes with it so for now, we have to charge it from a shore power. And since we really only use for charging our phones and laptops, we only charge the powerstation every other week.
Also, notice our ceiling is uninsulated and covered. Our van is considered a low roof (though we can both stand comfortably) and if we added a ceiling, my husband will likely hit his head with it! We are still on the lookout for an excellent option for our ceiling!
I hope that this gave you an inspiration and a little nudge to get on with your van-building plans! Building Flippie was generally simple and inexpensive costing us about $1000. I'd love to see your build! Let’s get social and connect with me on Instagram @sweetsavorygrace. Cheers!


