10 Steps in Planning an Epic National Park Road Trip
So you’ve decided to visit that national park you’ve been dreaming about! What now?! Planning a national park visit can be a daunting task. There are so many things to consider when planning. Do you visit in the spring or summer? Camping or hotel? Do you fly in and rent a car or drive back and forth? If you feel overwhelmed, you are not alone! When I started planning our first national park visit, I didn’t know where to begin.

10 Steps in Planning an Epic National Park Road Trip | The Sweet Savory Life
My husband and I moved into our 60 sq.ft. home on wheels in 2019. Since then, we have taken multiple road trips to many national parks in the country. This guide will include US-specific national park tips, however, it generally applies to most destinations in the world. I will detail how we plan our national park road trips effectively in this article.
As vanlifers, driving our self-converted campervan is our preferred method in traveling to US national parks. We believe it is the best way to enjoy the national parks not just for convenience (hauling everything you own in the van) but also for being cost-effective. There are plenty of RV and campervan companies to rent from which if shared with other people, might still be cheaper than hotels. Hotel costs make a huge dent on your budget and in many cases in national parks, they are located outside the park which means longer drive time. The other cheaper alternative is by getting a tent campsite preferably inside the park costing $25/night on average.
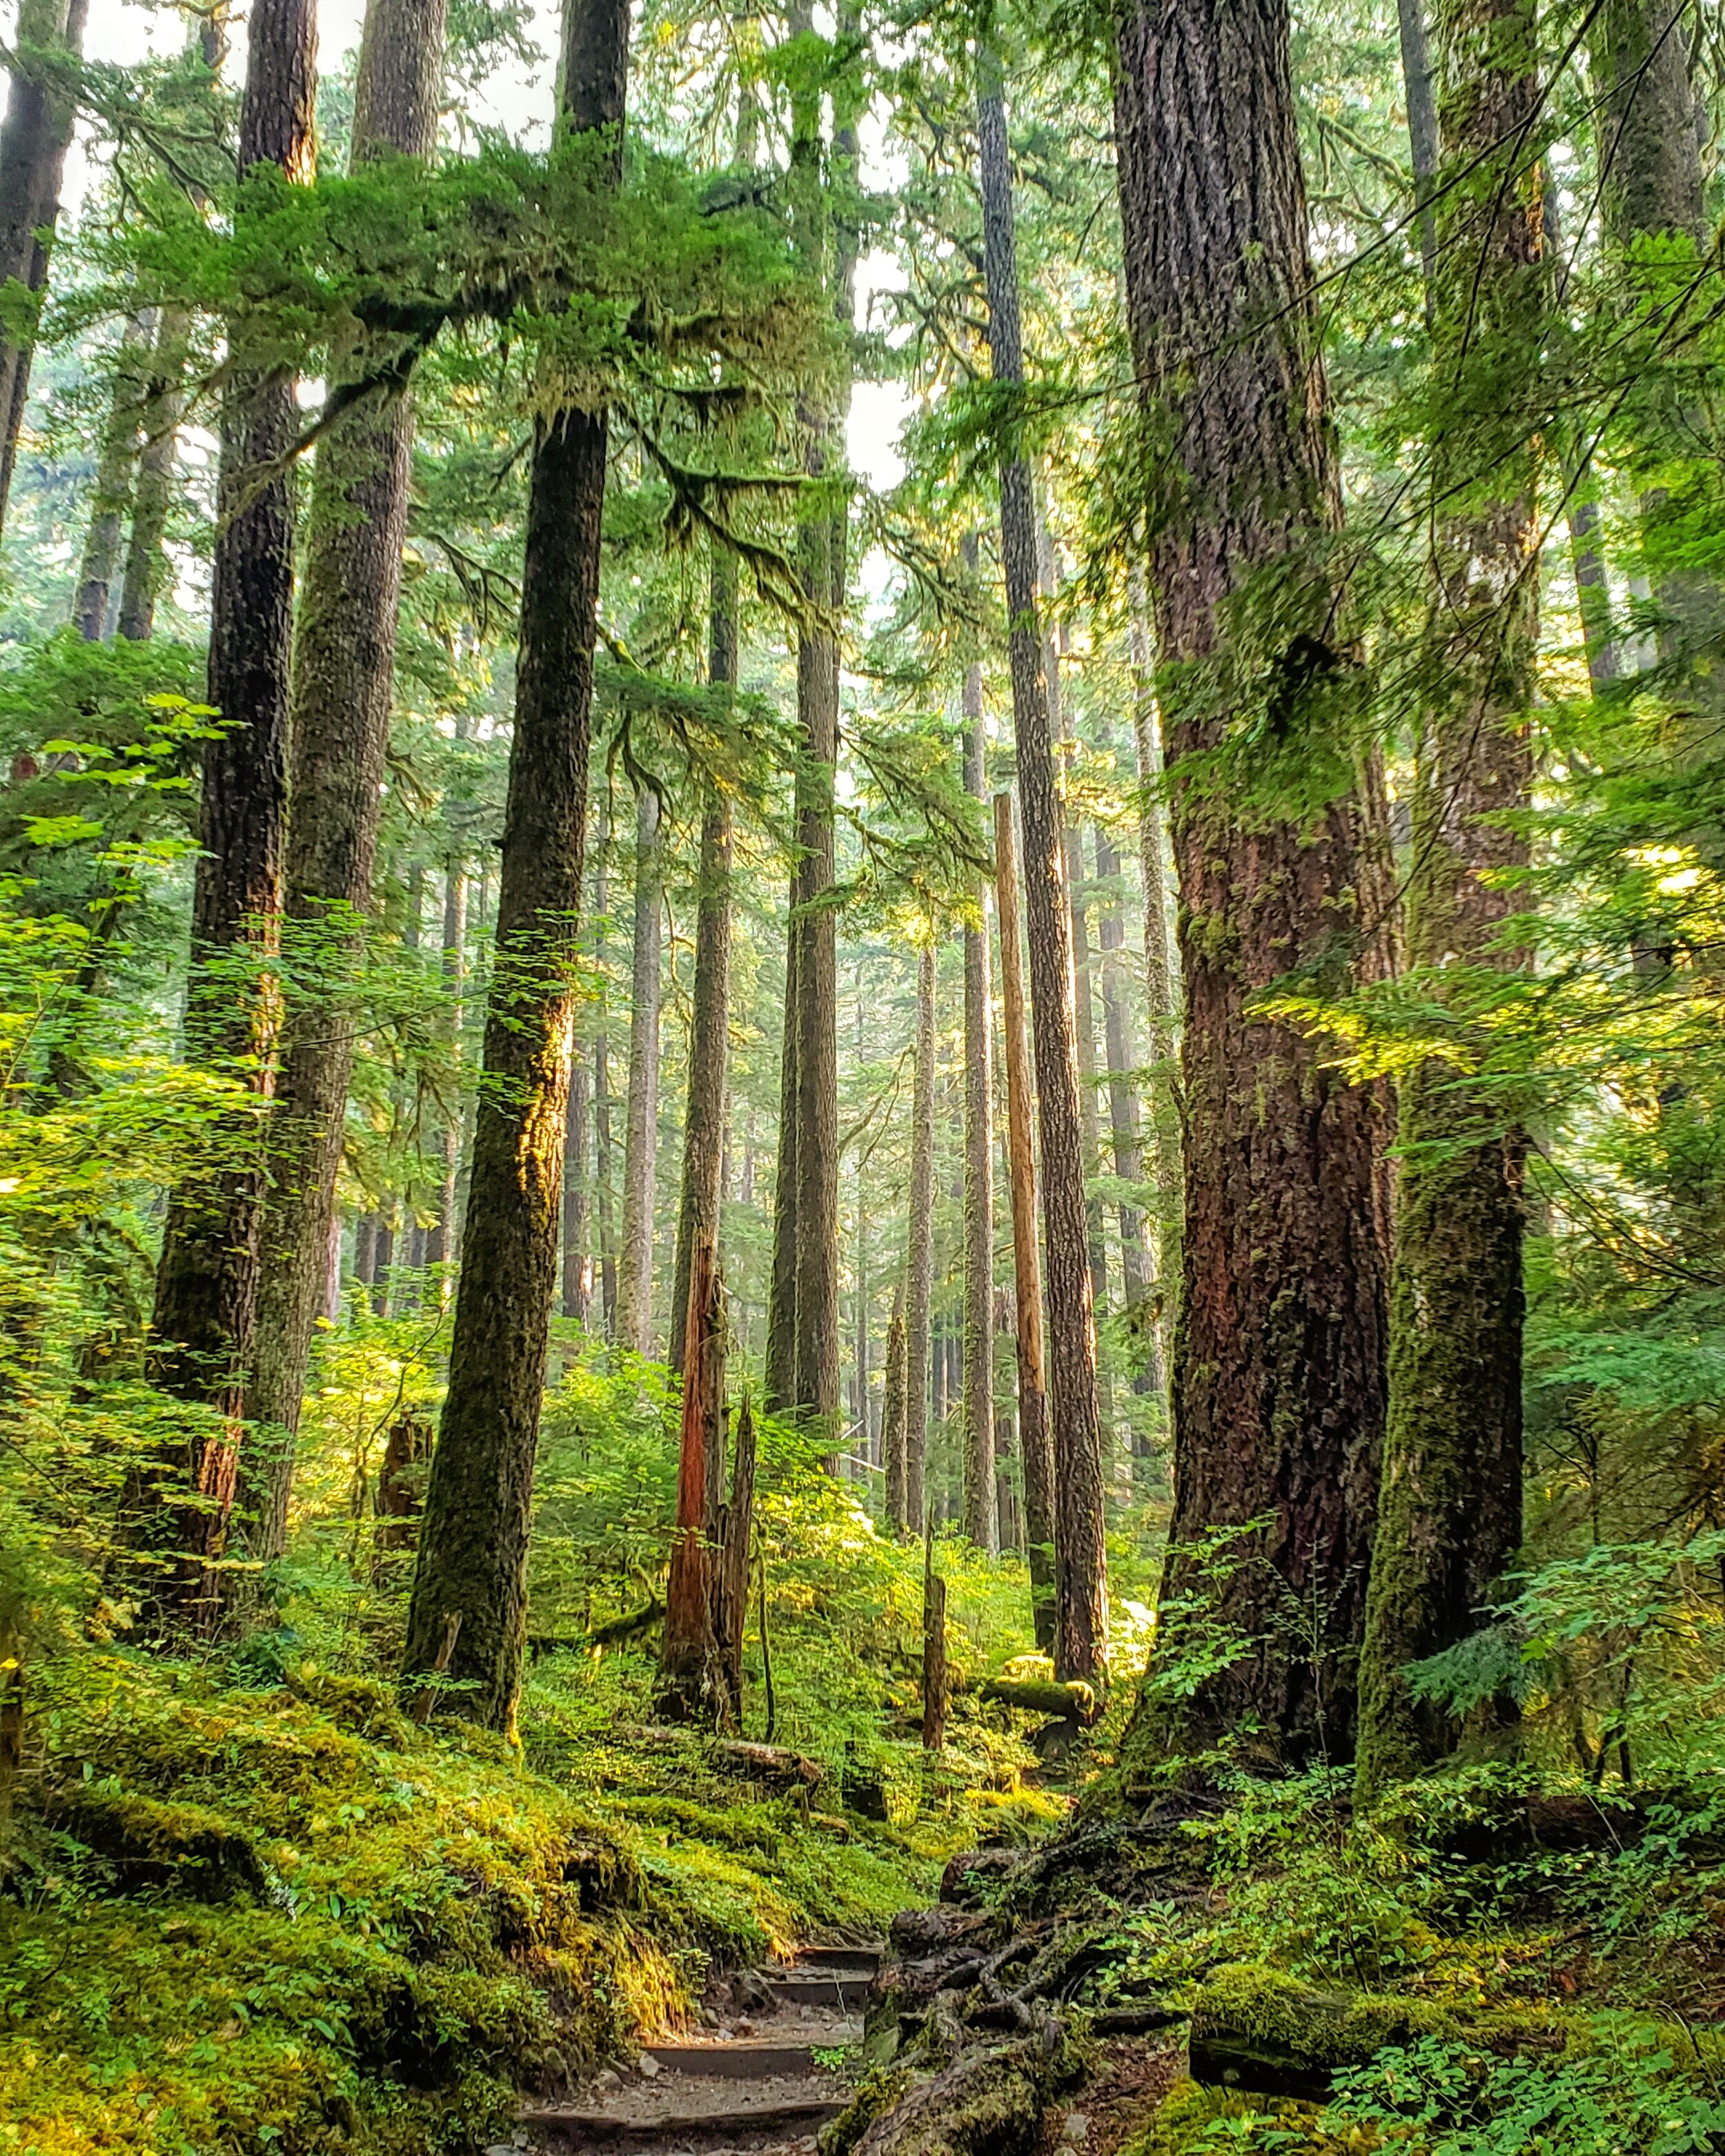
Sol Duc Falls Trail - Olympic National Park
But first, here are some pro-tips:
While spontaneity can be fun, planning your visit helps maximize your national park experiences. You can effectively group stops that are close to each other minimizing the driving time. This is not to say not to be spontaneous at all. There are many lesser-known attractions that you may have missed your research that is well worth the detour.
Most national parks cover thousands of acres and a well-planned itinerary helps you save time by lessening unnecessary back and forth driving. As an example, our campsite in Yellowstone was in the southern part of the park which is about 1.5 hours from the geyser basin. Even though we’ve already visited the Geyser Basin from the day before, we had to drive the whole 1.5-hour-length again to get to the northern portion of the park. Getting back to our campsite at the end of the day meant driving at least 2.5 hours.
If you plan on visiting at least 2 national parks in the next year, consider getting the annual pass (America the Beautiful Pass) for just $80. Each national park charges an entrance fee between $35 and $45, valid for 7 days. This pass is well-worth the money!
Plan at least 6 months in advance especially if visiting one of the most popular national parks. As an example, Yosemite NP requires at least 6 months in advance to reserve a campsite.
To get locations of FREE boondocking campsites, use either www.freecampsites.net or Campendium. Some of the best campsites we’ve camped in were in FREE boondocking grounds. They were a little bit off-the-beaten-path but the views were incredible. Many users of these sites give helpful tips, reviews and pictures of the sites.
A printed map is never out of style! You will likely experience not having data or signal on your road trip and a good ‘ol printed map might just save you! I always download the offline Google maps but had instances when it didn’t work for us.
10 steps in planning an epic US national park road trip!

Grand Prismatic Basin - Yellowstone National Park
Step 1 | The where, when and how.
WHERE: First things first, which national park/s do you want to visit? Is it just one specific national park or multiples such as “Utah’s Big 5” national parks or the state of Washington’s 3 national parks? Obviously, this would depend on how much time you’re able to take off work. Will 7 days be enough to visit Utah’s big 5 and at what pace do you want your visit to be?
WHEN: Most national park activities are subject to the seasons. Many roads leading to scenic vistas are closed in winter due to dangerous road conditions. Similarly, depending on the location of the park, the heat during summertime might not be ideal for the avid hikers. In the fall, many parks show off beautiful foliage displays. So depending on the kinds of activities you enjoy doing, figuring out what time of the year to visit is one of the most important steps in planning.
HOW: Although private tours are available to see some national parks, I highly recommend personally driving during your visit. This gives you more freedom to explore the park at your own pace and based on the activities you like to do. The next question is… from your home base, do you drive the whole length of the road trip or fly? Do you fly into the closest city to the park and fly out from a different city? What car rental companies to use and what are the rates? If driving your personal car, when was the last time you had a tire and oil change?
Step | 2 Look at your finances.
I would say that both steps 1 and 2 are dependent on each other. So now that you’ve figured out where and when you want to visit, now take a look at how much this trip will cost you. Do you have enough vacation hours to cover a 2-week trip? How much will accommodations cost you for the entire length of your trip? How much money do you need to save up each month for this trip?
Here are some of the costs to factor in:
campsites average $25/night; car rentals average between $20 to $45 per day; cabins average around $100/night; gas cost, national park entrance fees, meals, souvenirs and paid attractions.
Most things to do inside a national park are free like taking a hiking trail, beach days, sightseeing on vistas and pullouts, ranger talks, visitor center documentaries, museums and many more. In fact, you can make your NP visit one of the least expensive vacations you’ve taken. For my husband and I, we mostly stay on free boondocking sites and cook our own meals. When we traveled our month-long West Coast road trip, we spent less than $1000 in total including gas, campsites, grocery, dining out and souvenirs.
Step 3 | Get inspired.
More than likely, you probably already have some ideas of what to see and do at this point in the planning. I scour the internet for top attractions and hiking trails. From this search, I create what I call a “bubble list”. An unorganized list of things I’m interested in based on my research. I use a checklist app to add these tidbits of information including pictures that I will sort through later on. I think this is when many people become overwhelmed because of the number of details you are going through. Remember, this is just a bubble list and not your final itinerary. You will have to prioritize them later on.
Where to get inspiration? National Park website, blogs, TripAdvisor, Pinterest, Instagram, Youtube, Google search, travel books, Facebook groups
One of my favorite thing to do to get inspired is to create a specific board on Pinterest and pin away! Even Instagram posts can be pinned now. I also use TripAdvisor a lot and sort out through reviews as well as ask questions when needed. Joining a Facebook group is best for timely interaction where you get comments almost immediately.
Step 4 | Start plotting on Google maps.

So you have the list of places to see and things to do drafted, what’s next?! What I like to do next is to start plotting them on Google maps to give me an idea of their location and distance from each other. This is among the first steps I take towards finalizing my itinerary. Knowing the distances also helps you prioritize the activities on your list.
Once plotted on Google maps, I start grouping stops and outlining our daily itinerary. Using the same checklist app, I break down each day to include distance and travel time. Don’t delete the activities that don’t fit your itinerary! I usually keep them at the bottom of each day’s list as an alternative in case there are changes. We’ve had instances of a road or trail closure and had to do alternative activities from our list. It’s quite common to see closures and restrictions while visiting a national park so always be prepared.
Step 5 Figure out where to stay.
Notice that I placed this step only after I plotted the activities on Google maps. Most people will likely start by reserving a hotel or campsite and build their itinerary from that. Based on our experience, we are able to maximize our vacation by choosing the hotel/ campsite based on our activities. After all, national park visits should be more about exploring the great outdoors and less about the hotel. Plus, it really does help minimize your driving time by picking the best hotel/ campground location possible.
The perk of traveling in a campervan is flexibility. What we like to do is reserve campsites on multiple campgrounds. For example, our day 1 campsite is located on the southside of the park since most activities that day are in the same location. Day 2 campsite is located on the east side because most activities of the day are in the same area. This helps us save driving time. Obviously, this works well for us because we don’t have to pack-up our tents but I was ironically given this advice by a couple who were tent camping.
Having a draft of your itinerary helps you pick the campsite that is best suited for your trip. Of course, this will only work if you plan in advance when campsites are still available on popular parks.
Step 6 | Finalize your itinerary.
Before finalizing my itinerary, I do more research on the national park, campground and hiking trails. Each national park has its own website and is a treasure trove of information including closures and restrictions. Once done with my research, I enter our final itinerary on my checklist app. I include alternative activities and free boondocking sites in case we need it. It might be hard to find a strong cell and data service inside the national park to look for alternatives. I also detail the distance and driving time between attractions as well as gas stations. Most importantly, allow room for spontaneity! Make random stops at vistas and interesting places, they make the best memories!
Step 7 | Download offline Google maps. (or Wayze)
As mentioned earlier, strong cell signal and data are hard to find while inside a national park. I highly recommend downloading an offline map while connected to wifi. This saves you a lot of headaches during your trip. It also doesn’t hurt to have a printed map on hand when technology fails!
We prefer to use Google maps over Wayze. Here are the steps to download the offline map:
Open Google Maps and search for the place, i.e. Olympic National Park.
Tap at the bottom where the searched place is listed.
Tap the 3 dots on the top right and tap download.
Step 8 | Create your packing list.

Clothes & Toiletries: It’s always good to come prepared for any sort of weather while visiting a national park. Even in summer, we still bring light and fleece jackets with us. Even generally warm places like Utah can cool off a lot at night in the summer. Don’t forget your comfortable hiking outfits if planning on taking a trail.
Gears: camping gears, hiking gears like hydration packs, power bank for cell phone charging, camera, bear spray
Food: Any good road trip comes with your favorite snacks! We often have a snack basket placed close to us for easy access while on the road. If staying in a campground, do you plan on grilling? S’mores? MREs? Beers? Most national parks have limited dining options so come prepared.
Entertainment: As I mentioned earlier, strong cell signal and data are hard to find inside national parks. To entertain ourselves at night, we bring cards and board games with us. We also download movies and bring a few books to read. For long drives, we download podcasts in advance as well.
Step 9 | Get packing and last-minute preparations.
At this point, you should already have your final itinerary and packing list done! It’s now time to get packing! I also visit the national park’s website for any last-minute announcements, closures and restrictions. We’ve learned our lesson in Rocky Mountain NP not knowing that an advance online reservation was required to get in due to Covid-19. They were restricting the number of visitors to the park and we couldn't go in without a reservation.
Step 10 | Have fun and leave no trace behind!
One of the best legacies of this country is its national park system and culture! Our generation is lucky that generations ago, a few visionaries stood to congress pleading to preserve these remarkable natural wonders. It is now our responsibility to take care of them for the next generations to come! My husband and I try our best to leave no trace behind.
I hope you found some inspiration for your upcoming road trip! The national parks have been a place of solace and respite for many of us. I’d love to see your journey by tagging me on Instagram @sweetsavorygrace. Also, don’t forget to pin this guide to refer to later. Cheers!

10 Steps in Planning an Epic National Park Road Trip | The Sweet Savory Life

10 Steps in Planning an Epic National Park Road Trip | The Sweet Savory Life